Nothing beats a hearty bowl of curry to soothe the soul and if you’ve ever been lucky enough to taste the rich and scrumptious curry from Coco Ichibanya in Japan, you know what curry dreams are made of.
The first time I had katsu curry from Coco Ichibanya or ‘Coco Ichi’ was in Osaka back in 2018. I had just left the Osaka Aquarium and after hours of marveling at aquatic beauties, I needed a soul-satisfying recharge. Needless to say, I was not prepared for what was to come next – a bite into one of the best Japanese curries I’ve ever had.
This recipe is an ode to Coco Ichibanya and a walk down memory lane from my travels to Japan. While it doesn’t do the OG curry justice, it’s damn near close and I’m so excited to share this with you!
Whether you’re a curry enthusiast or have been wanting to recreate this beloved curry at home, I got you covered!
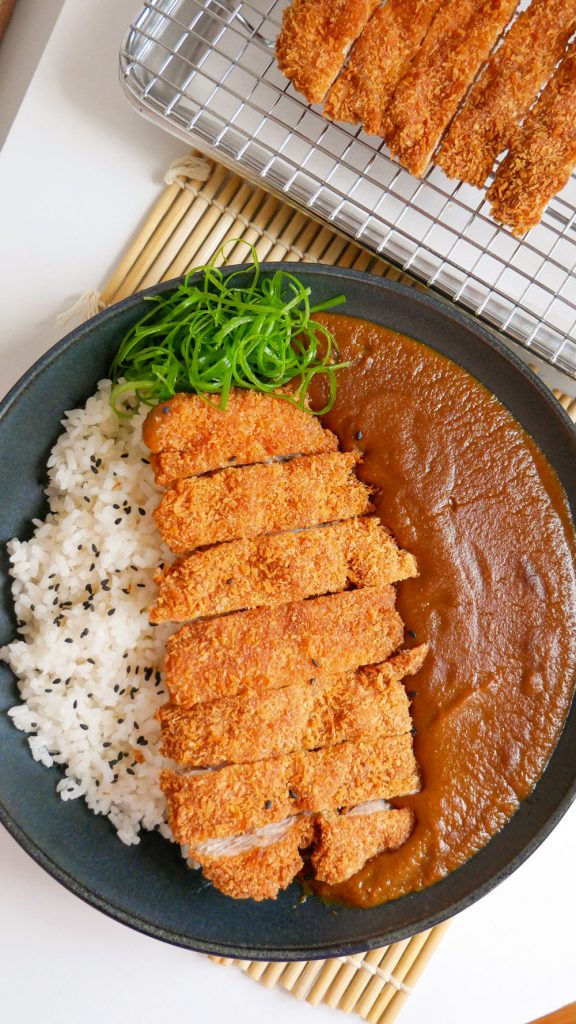
Why you’ll love this recipe
This Coco Inchibanya Curry dupe is surprisingly simple to make and a flavorful journey that brings a taste of Japan to your home. The flavors are rich yet comforting making this an experience that feels and tastes like a warm hug.
Like all top-tier curries, this one tastes even better the next day which means a big batch can be made in advance and enjoyed throughout the week. To make it even better, this curry can be stored in the freezer for up to 3 months!
Lastly, aside from its delicious and soul-soothing appeal, this curry is extremely versatile. It can be served with various carb groups including rice, noodles, and even bread. And of course, you can throw in your choice of protein or vegetables into the curry or as a katsu on top!
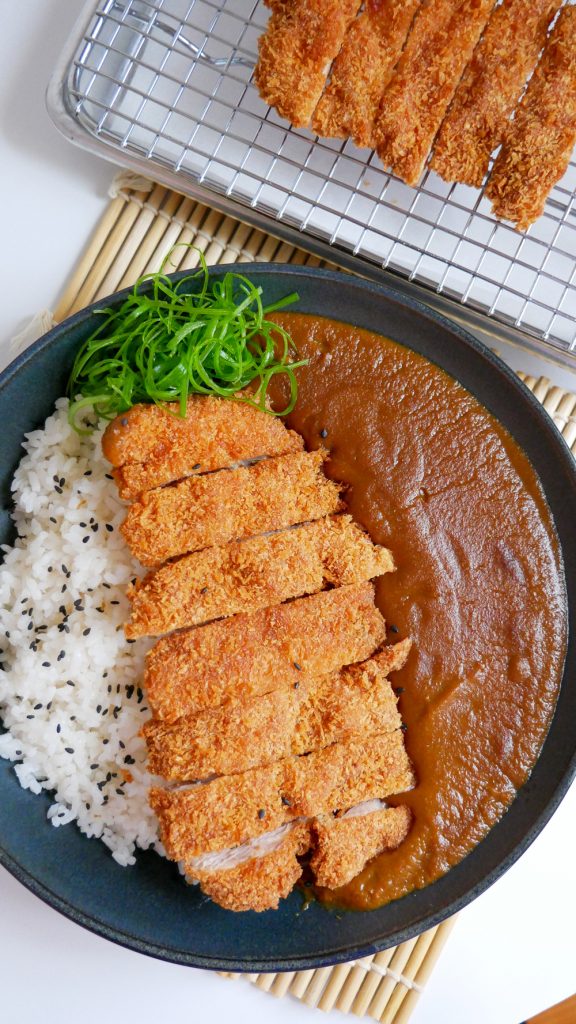
In my opinion, this curry tastes best when served with a side of katsu (of your choice) and hot steamy rice. Check out my katsu recipes below:
- Easy Chicken Katsu
- Zucchini Katsu
- Eggplant Katsu
- Crunchy Eggplant Katsu (Eggless and vegan!)
- Air Fryer Katsu
How do I prepare this Coco Ichibanya Curry Recipe?
Step 1: Caramelize the onions.
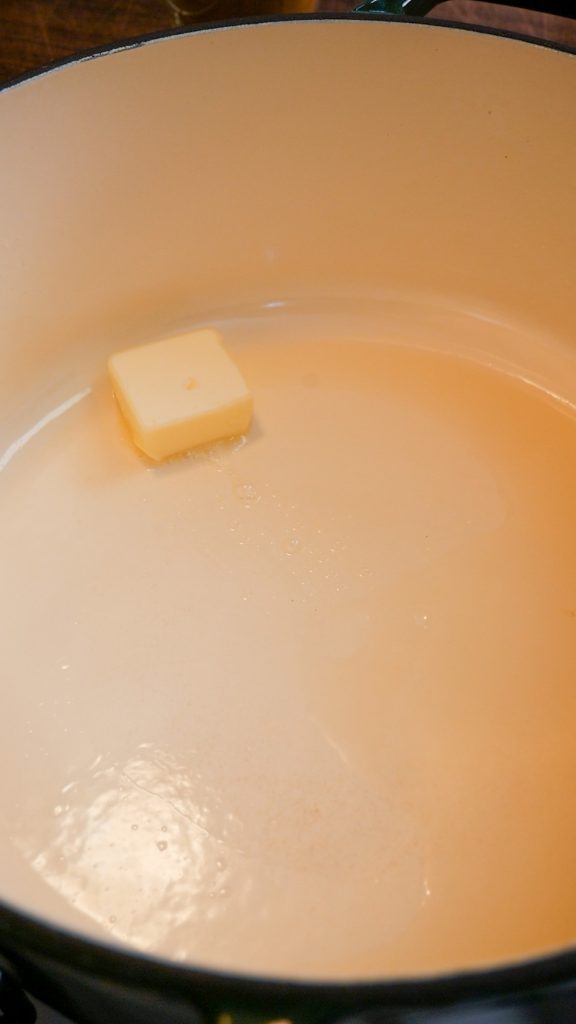
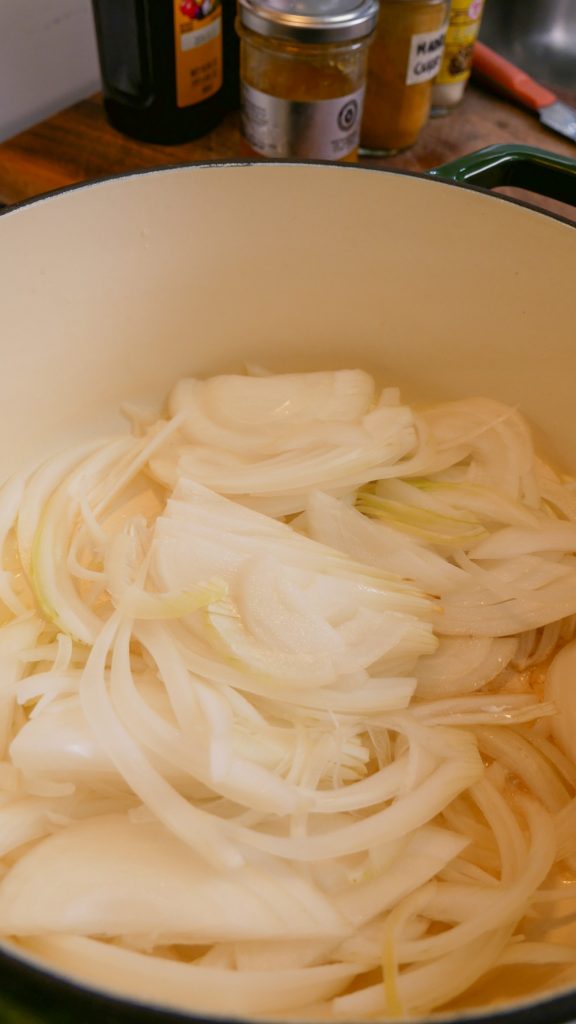
In a medium-sized pot, heat neutral oil and 2 tablespoons of butter over low heat. When the butter has fully melted, toss in the julienned onions.
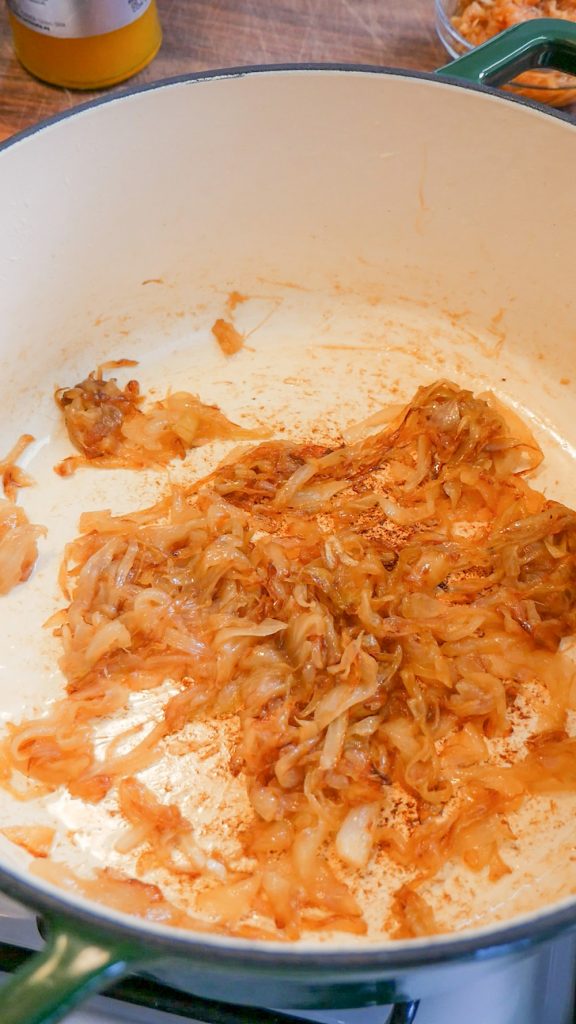
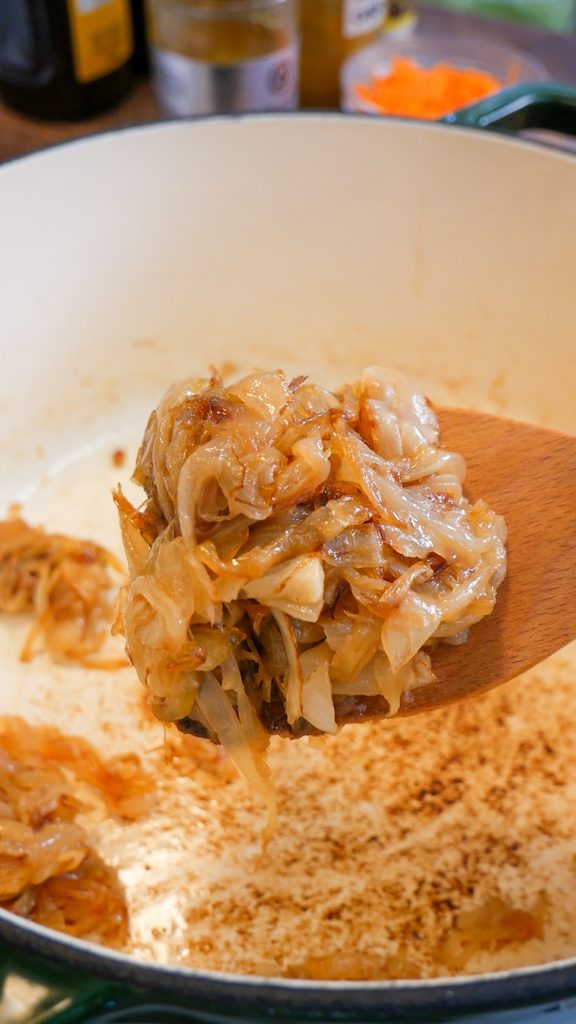
Cook on low for 40 to 45 minutes until dark brown and caramelized, making sure to stir occasionally to prevent burning.
Step 2: Add grated carrot and apple.

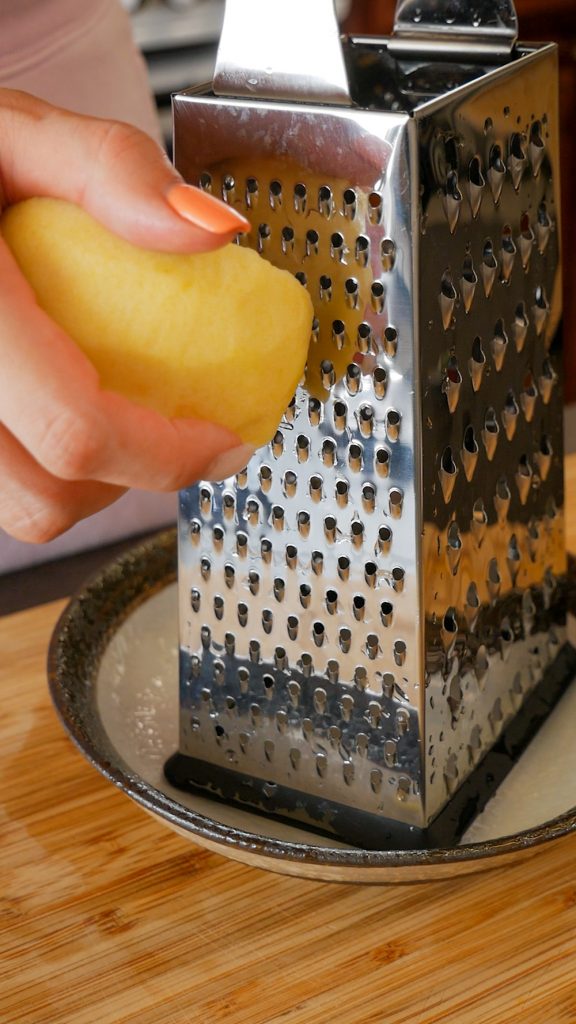
Once the onions have caramelized, add the grated carrot and apple.
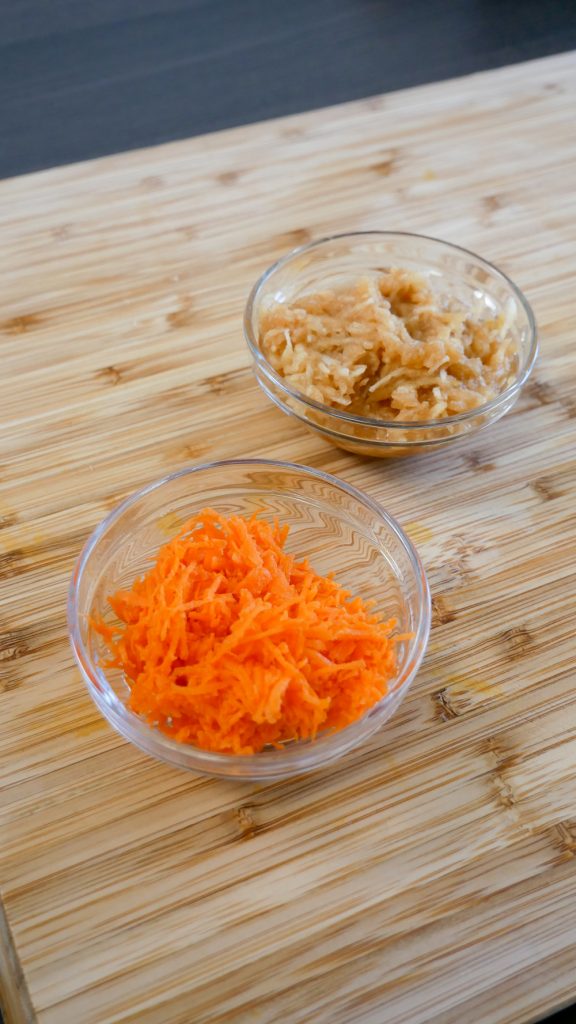
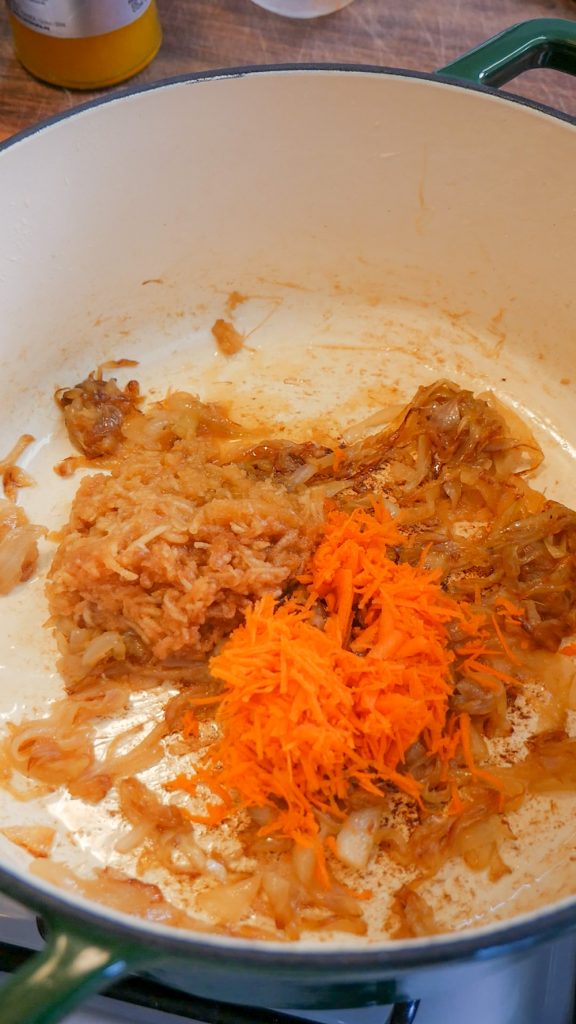
Cook on medium-low for 2 to 3 minutes, until the liquid from the grated apple has evaporated.
Step 3: Pour in low-sodium chicken stock and water.
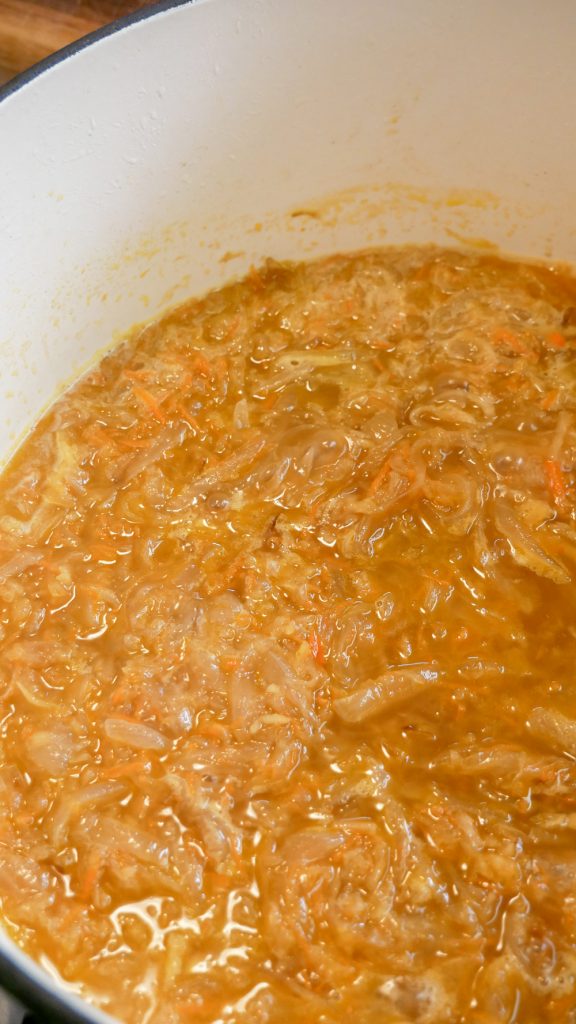
Pour in the low-sodium chicken stock and water. Bring to a boil then reduce to a simmer.
Step 4: Add curry cubes & curry powder.
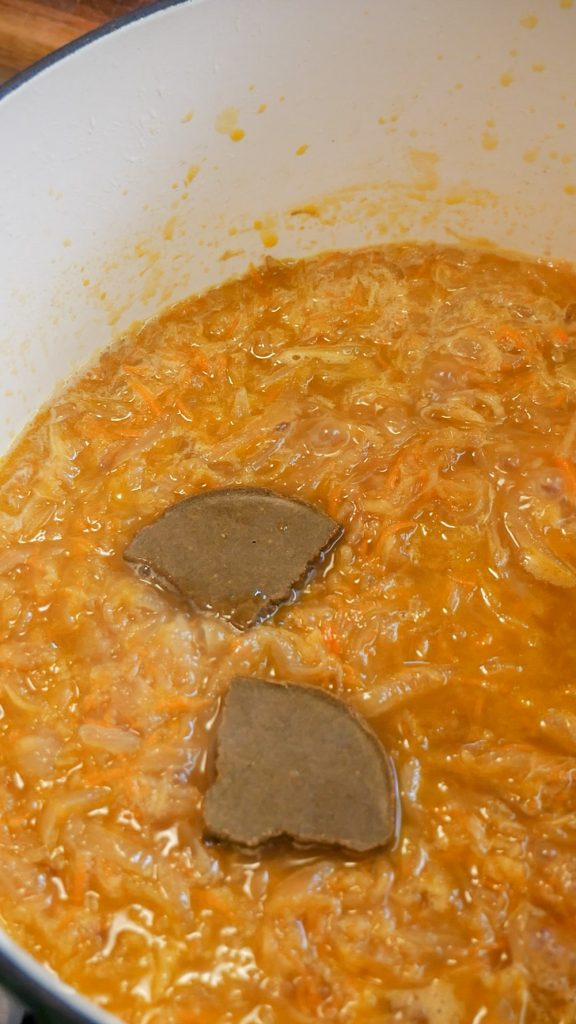
Dissolve the curry roux cubes into the pot.
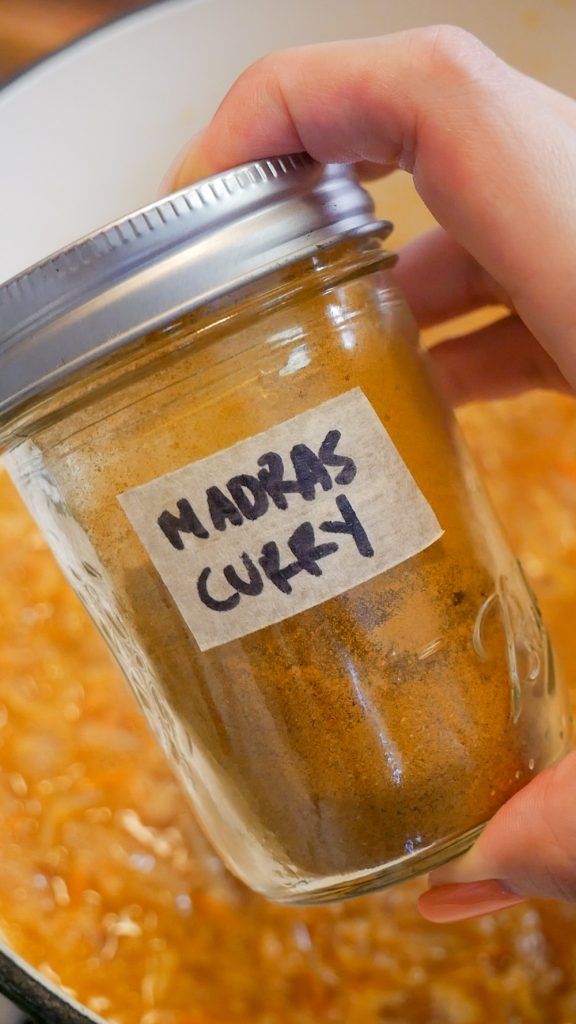
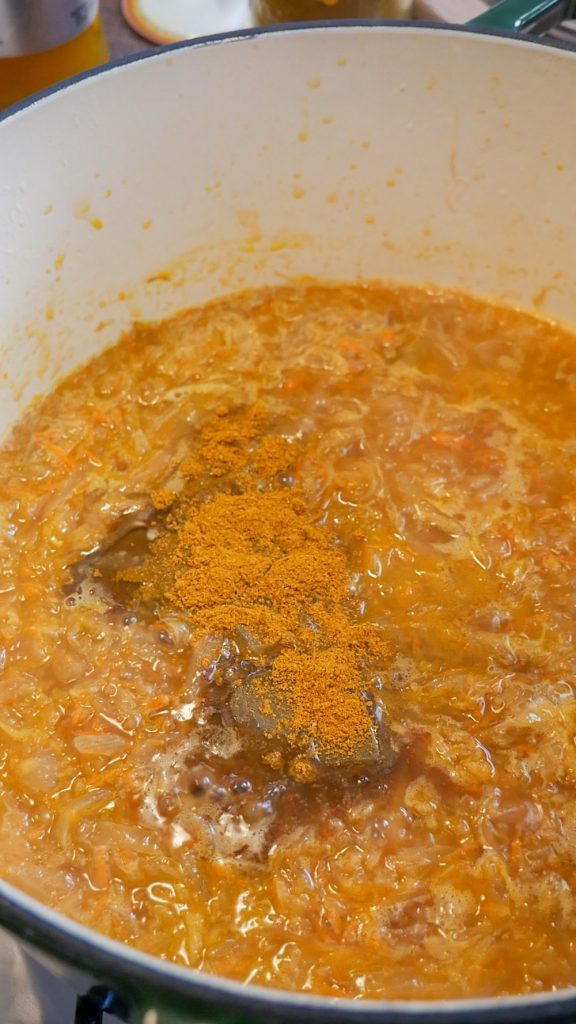
Add the curry powder then simmer for 5 to 10 minutes until slightly thickened.
Step 5: Add condiments and spices.
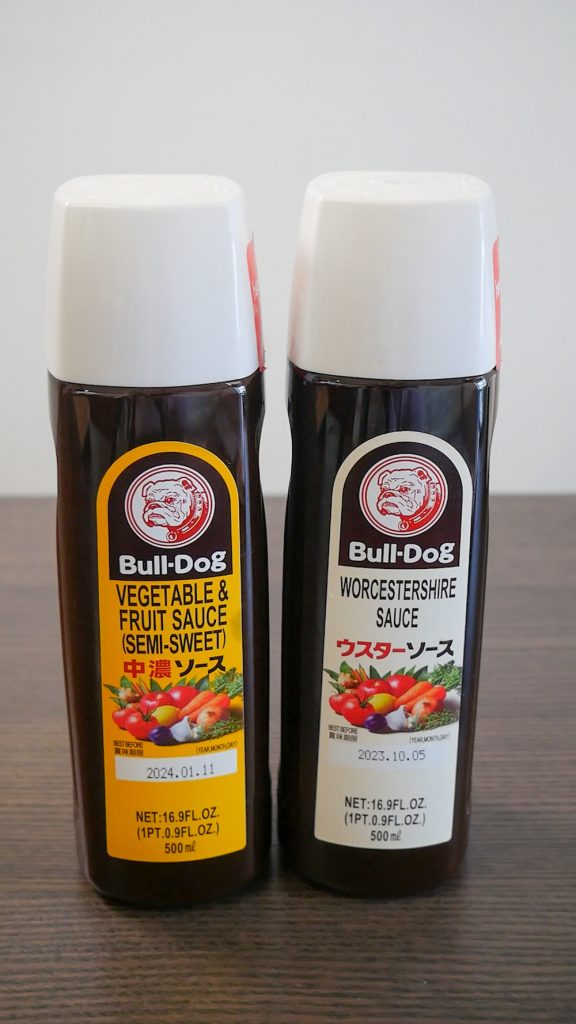
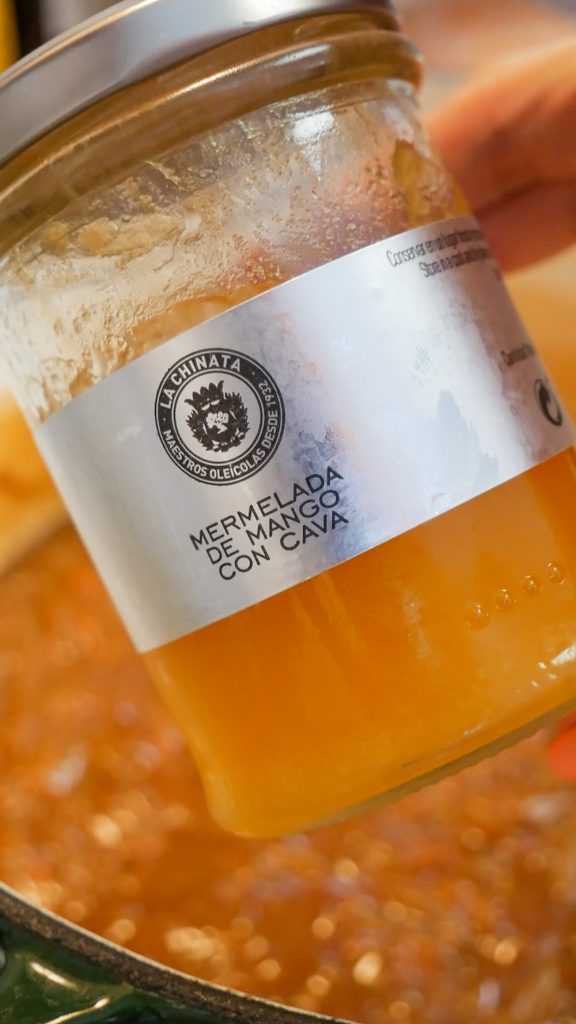
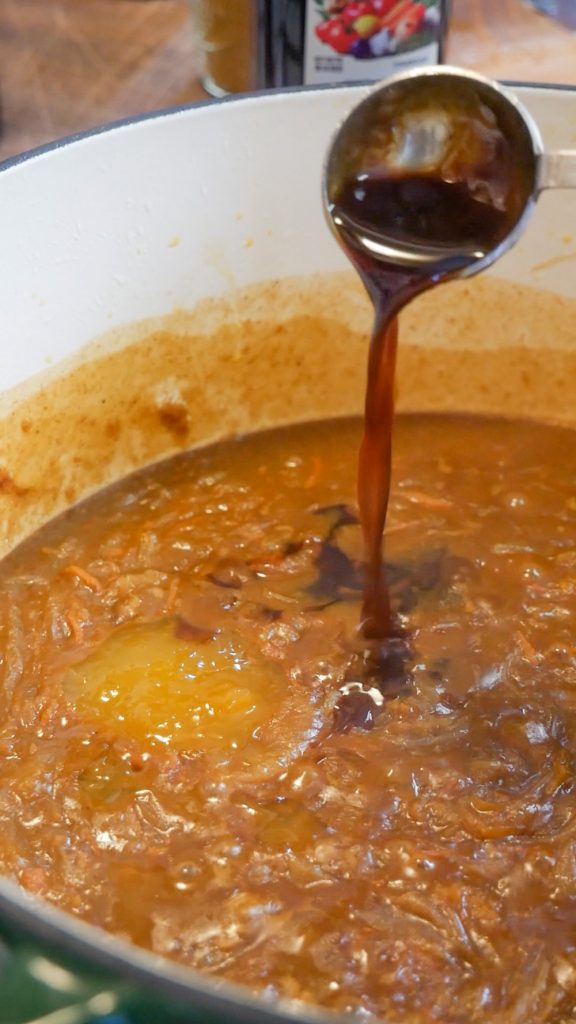
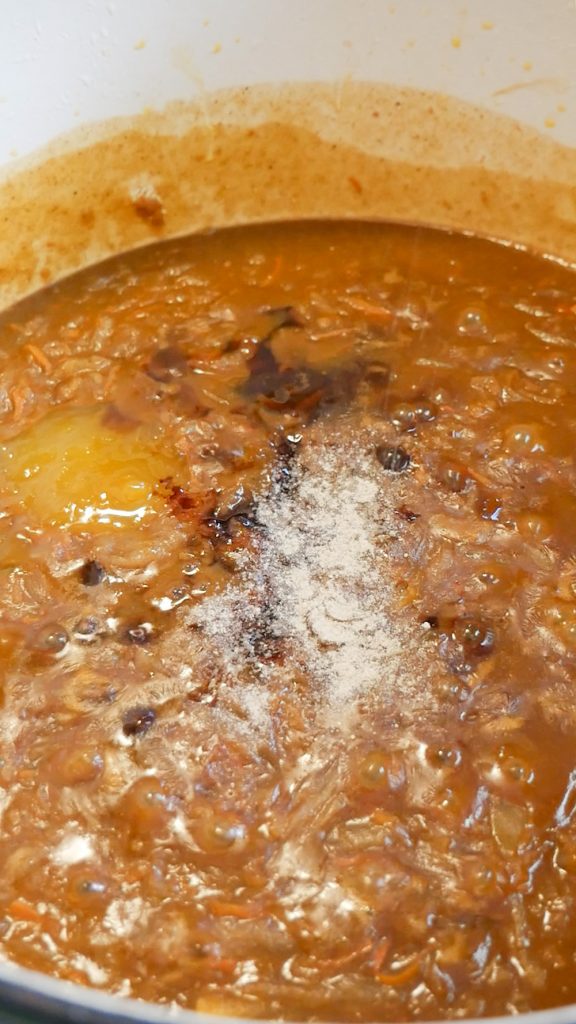
Add the mango chutney, Bulldog fruit & vegetable sauce (or ketchup), Worcestershire sauce, dark soy sauce, and white pepper. Stir and mix well.
Step 6: Blend curry & add butter.
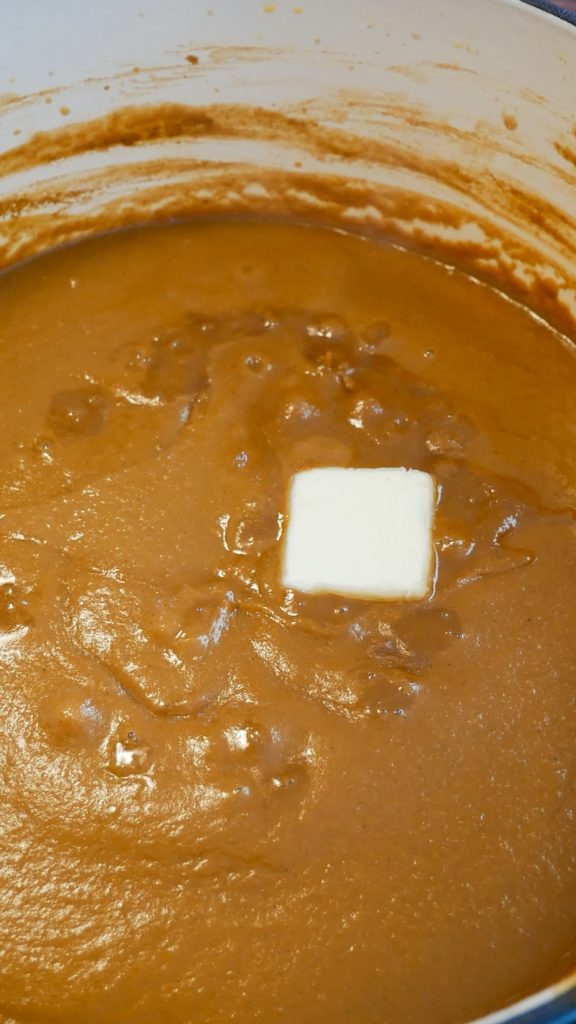
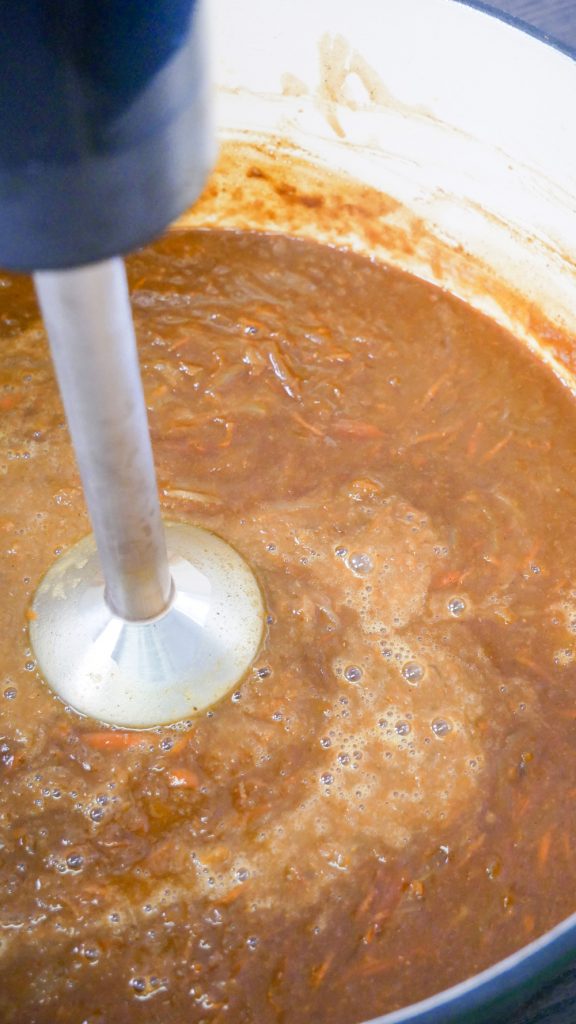
Using an immersion blender, blend the curry until smooth. Add the remaining 2 tablespoons of butter to the curry and mix well.
Step 7: Serve!
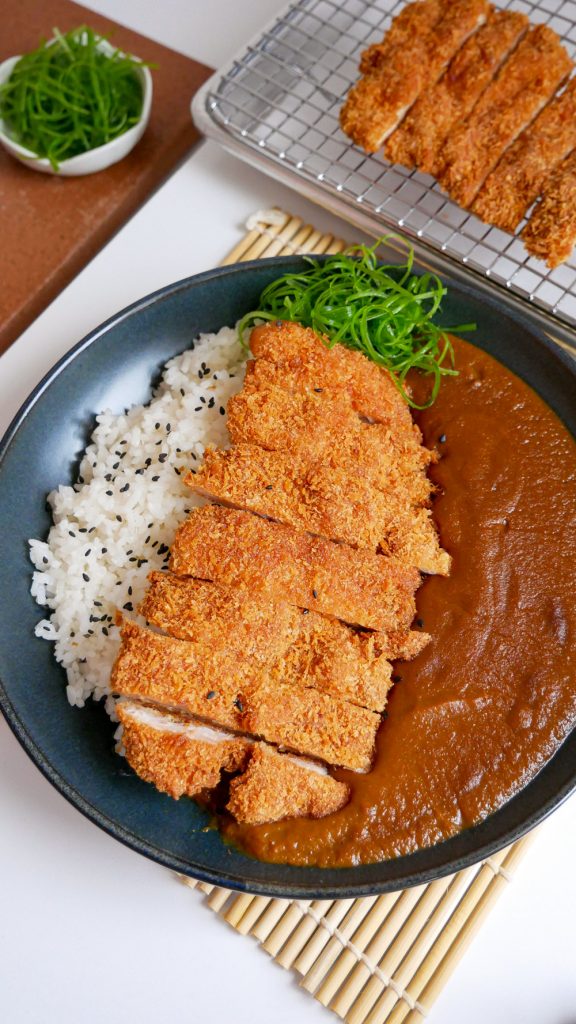
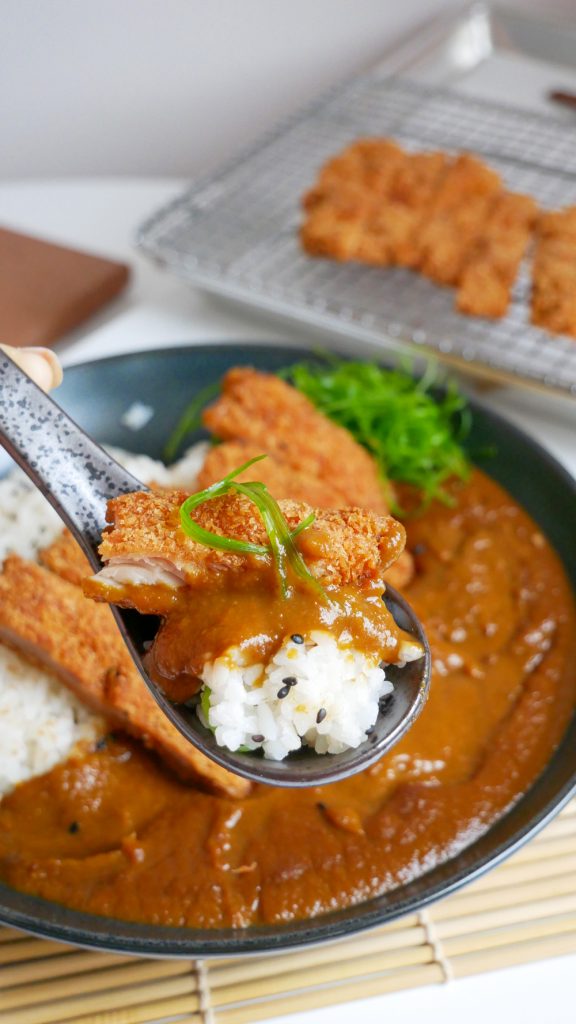
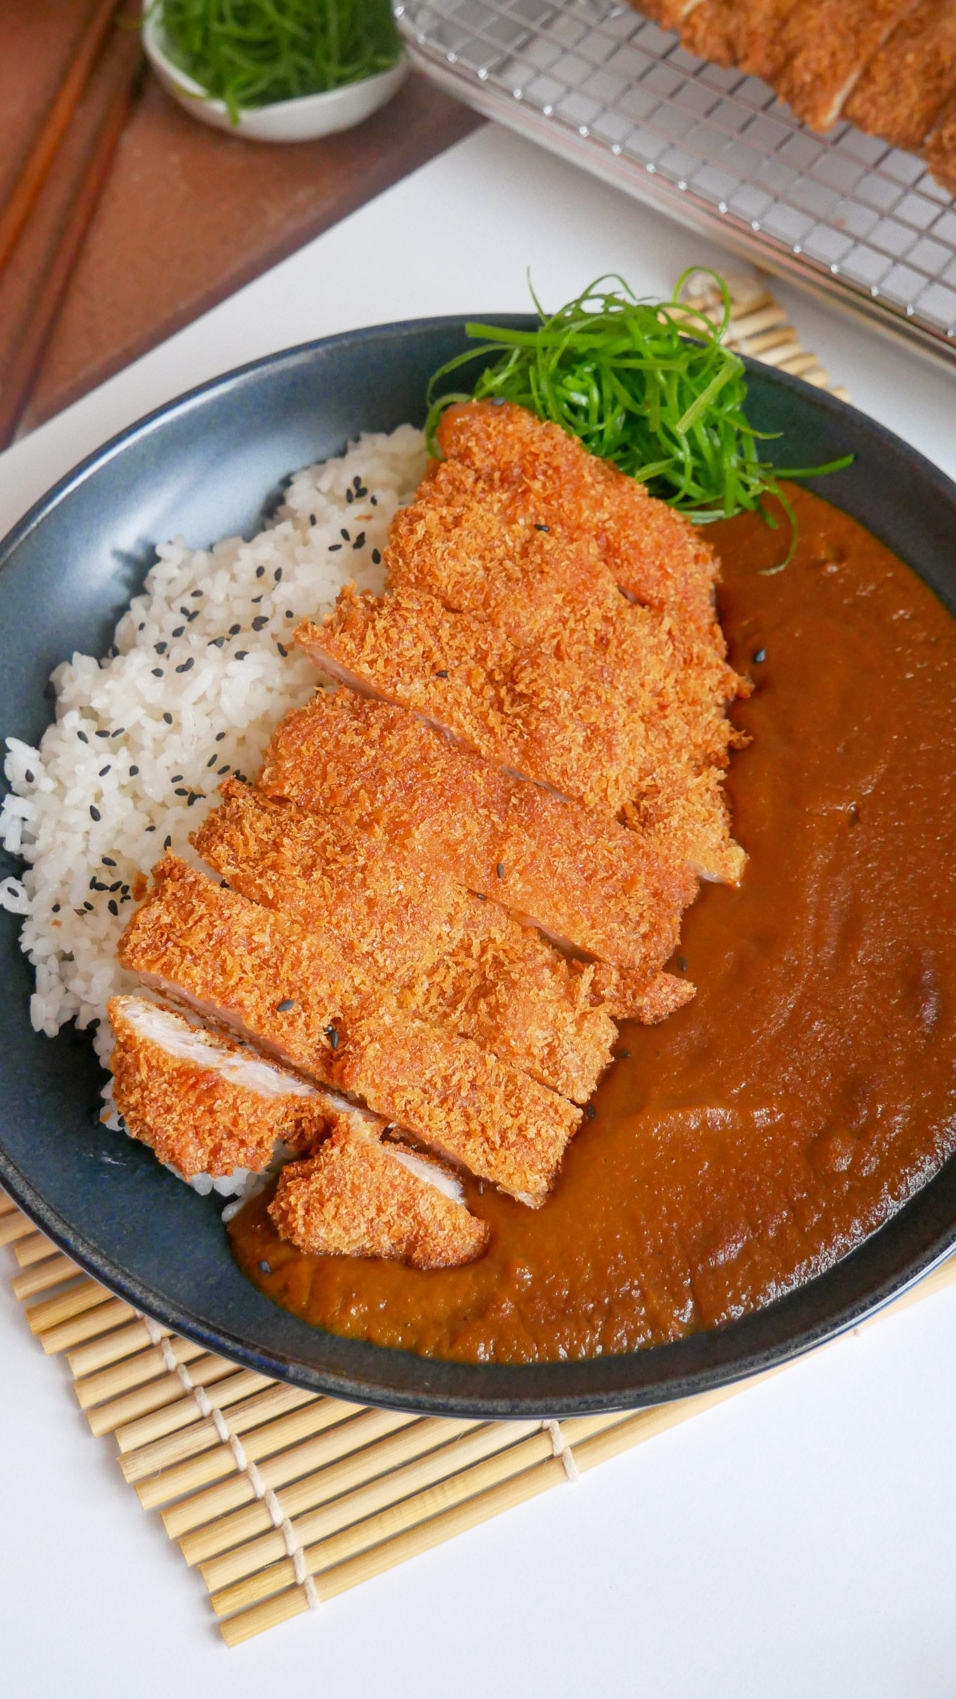
Serve with rice and your choice of katsu! Do note that the flavors of the curry will enhance as it sits so I recommend storing it in the fridge overnight and reheating it the next day 🙂
Coco Ichibanya Curry Ingredients & Substitutions
Large onions: the onions play an important role in the foundation of the sauce. Caramelizing the onions will draw out their natural sweetness and develop an intense onion flavor.
Neutral oil: neutral oil is used to caramelize the onions however, it is mainly used to prevent the butter from burning. Oil typically has a higher smoke point compared to butter and since the onions will require at least 40 minutes to cook, this will prevent them from burning.
Unsalted butter: the unsalted butter helps to add flavor to the caramelizing process of the onions.
Carrot: while subtle, the carrot adds a touch of sweetness and also enhances the flavor of the sauce. The combination of the aromatics including the onions and carrot helps to develop and deepen the curry.
Apple: Coco Ichibanya’s curry is on the sweeter side so the addition of grated apple creates multi-dimensional layers of sweetness and flavor.
Low-sodium chicken stock: the chicken stock adds another layer of flavor to the curry. I prefer using low-sodium chicken stock so that I can adjust the saltiness as needed. If using regular chicken stock, you may need to add a touch more water, however, I’ll leave that up to you!
Water: the water is used alongside the chicken stock to make the sauce. I like using half low-sodium chicken stock and half water however, feel free to make adjustments as you see fit.
Japanese instant curry block: using instant curry blocks will speed up the process and ensure a consistent flavor every time. I prefer using Java curry in HOT for its deeper, spicy, and umami-rich flavors however, you can use any brand and spice level that you like!
Curry powder: to amplify the curry flavor, I like adding curry powder, preferably madras curry powder which is spicier than regular curry powder.
Mango chutney: mango chutney in curry might seem odd at first, however, it adds a delicious layer of sweetness to the curry. This can be substituted with honey!
Bulldog fruit & vegetable sauce: this is a bottled tonkatsu sauce that adds sweetness and tang to the curry. The Bulldog fruit & vegetable sauce can be substituted with ketchup.
Worcestershire sauce: the Worcestershire sauce adds tanginess, sweetness, and savoriness to the sauce. I like using the Bulldog brand but feel free to use any brand you prefer.
Dark soy sauce: the dark soy sauce is the main seasoning ingredient. It’s also used to darken the color of the curry. You can substitute it with regular soy sauce.
White pepper: the white pepper adds a subtle floral and spicy kick to the curry. This can be substituted with black pepper.
Cooking Tips for Coco Ichibanya Curry
- The spiciness can be adjusted according to the curry cubes that you use. They typically come in various spicy levels from medium-hot, hot, and extra hot. For this recipe, I used the hot version however, be sure to use what you prefer!
- The consistency of the curry is also based on preference. If you prefer a thicker curry, simmer it down until it reaches your desired consistency. Alternatively, if you prefer a looser curry, reduce the simmer time or add a splash of water.
- For best results, slow and steady is the way. From caramelizing the onions to the low and slow simmering of the ingredients in the pot, this slow cook will allow the flavors to deepen for a delicious curry.
- While the sauce is blended smoothly, feel free to add chunks of proteins and vegetables for a heartier curry. For example, if using protein like beef or chicken or vegetables like diced potatoes and carrots, remove the caramelized onions from the pot. Add a tablespoon of oil then saute the meat until it is no longer pink and the vegetables until halfway cooked. At this point, add the caramelized onions back into the pot then continue following the steps in the recipe.
- The curry will taste even better the next day because the flavors will have the chance to develop and meld together. If you have the patience and time, I recommend serving the curry the next day! This also gives you an excuse to make a big batch so that you can enjoy it throughout the week or store it in the freezer for up to 3 months for a future easy meal.
Frequently Asked Questions
What type of curry powder should I use?

While this is all a matter of preference, I personally like to use Madras curry powder for this recipe. Madras curry powder is spicier than regular curry powder, however, any type of curry powder would work! Aside from Madras curry powder, S&B Curry Powder is a great alternative.
Which brand of curry roux blocks should I use?
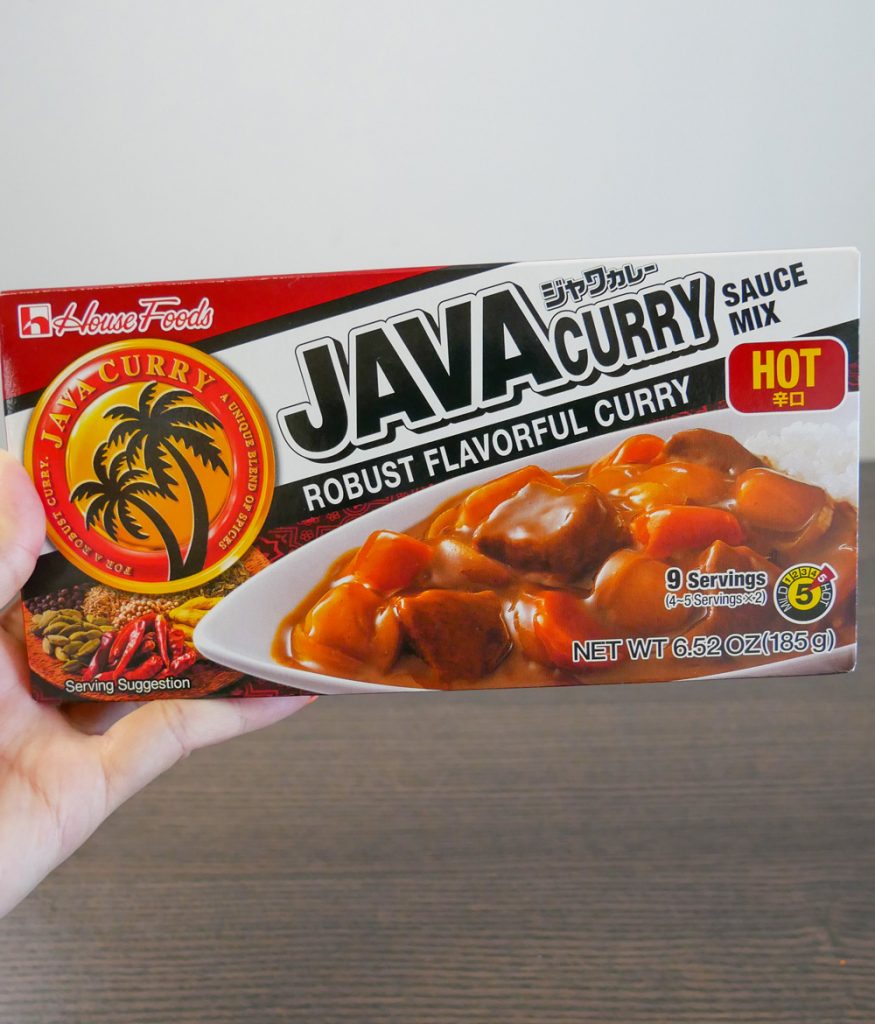
While there are many brands to choose from, my personal preference for this recipe is Java Curry. In my opinion, it has a deeper, richer, and more intense curry flavor compared to other brands. Java Curry can be found on Amazon however, I did notice that it was kind of difficult to find at my local Asian market. My second preference is S&B Golden Curry in the Hot version.
Can I still make this without curry blocks?
Certainly! I do want to preface this by saying that if you make your own curry roux instead of using the curry blocks, the curry will turn out differently. Coco Ichibanya is rumored to use the Java Curry blocks, which is why I recommend using it if possible.
However, if you want to make your own curry roux at home, you’ll need 7 tablespoons unsalted butter, 3/4 cup all-purpose flour, 1/4 cup curry powder, 1 tablespoon garam masala, and 1 teaspoon turmeric. Start by making a roux by melting butter and mixing in flour over low heat. Once it turns into a golden paste, add the curry powder and garam masala and mix into the roux. Transfer to a heat-proof container and allow the curry roux to cool. Cut into squares and you have homemade curry blocks!
Can I make a vegetarian version of this curry?
Yes, absolutely! To make this vegetarian-friendly, simply swap out the chicken stock with vegetable stock or water. For a vegan-friendly version, I recommend checking the nutrition labels on the condiments and sauces. For example, the Java Curry brand may contain milk however the S&B Curry brand does not.
Can I add protein to the curry?
Of course! To make this a heartier meal, you can protein including beef, pork, chicken, shrimp, and even tofu! If you want to add protein to the curry, you’ll want to saute it in some oil until it is no longer pink. Be sure to do this after taking out the caramelized onions. Add the caramelized onions back in then follow the recipe as listed out. If using tofu, you can add it in at the last step since it doesn’t require any sauteing.
Can I add vegetables to the curry?
Yes, absolutely! While the curry is blended smoothly, if you want to add chunks of vegetables like potatoes and carrots, simply saute the vegetables after taking the caramelized onions out. Once the potatoes and carrots are halfway cooked, add the caramelized onions back in then continue to follow the steps in the recipe.
If the curry is too thick or thin, how do I fix it?
If the consistency of the curry is too thick, add a splash of water to loosen it up. However, if it’s too thin, allow it to simmer a bit longer to reduce to the consistency that you prefer.
How do I store leftover curry?
Any leftover curry should be stored in an airtight container in the fridge for up to 4 days or in the freezer for up to 3 months.
How do I reheat this curry?
To reheat the curry, place it into a pot then add a splash of water, which will help loosen it up. Heat over medium-low heat to prevent the curry from burning. Alternatively, you can reheat the curry in the microwave. Just be sure to cover with plastic wrap or a microwave-safe lid otherwise your microwave will turn into a mess!
Looking for more easy and delicious Japanese-inspired recipes?
- Curry Udon Noodles – If you’re looking for a no-frills, quick, and easy weeknight meal, this curry udon with egg is the one for you! There’s something so incredibly comforting about a bowl of udon noodles that are smothered in a rich and velvety curry. And best of all – it only takes 20 minutes to prepare!
- Japanese Chicken Rice Bowl – also known as ‘oyakodon‘, this rice bowl is comforting, delicious, and packed with so much flavor. The combination of the rice, chicken, and egg with the dashi-based sauce is so satisfying and hits all the right spots!
- Shiozake – or Japanese Salted Salmon is a salt-cured salmon served with a bowl of rice. This salmon dish only requires three ingredients and is perfect for a quick and healthy lunch or dinner!
- Tuna Onigiri – Tuna onigiri is the easiest, simplest, and quickest way to make a super delicious onigiri at home! These are great for a quick lunch at home or on the go! Super easy to make and can be made ahead of time too!
- Miso Udon Noodle Soup – If you’re like me and you can’t resist a delicious bowl of noodles, wait until you try this miso udon noodle soup! From the hearty udon noodles to the savory homemade miso broth, one bite of this noodle soup will make you realize why it’s so special.
Coco Ichibanya Curry Recipe
Ingredients
- 1 1/2 large onions julienned
- 2 tbsp neutral oil
- 4 tbsp unsalted butter divided
- 2 tbsp carrot grated
- 1/2 apple grated
- 1 cup low sodium chicken stock
- 1 cup water
- 2 curry blocks Japanese curry roux
- 1 tsp curry powder preferably madras curry
- 1 tbsp mango chutney substitute with honey
- 1/2 tbsp Bulldog fruit & vegetable sauce substitute with ketchup
- 1/2 tbsp Worcestershire sauce preferably Bulldog brand
- 1 1/2 tbsp dark soy sauce
- 1/4 tsp white pepper
Instructions
- In a medium-sized pot, heat neutral oil and 2 tablespoons of butter over low heat. When the butter has fully melted, toss in the julienned onions. Cook on low for 40 to 45 minutes until dark brown and caramelized, making sure to stir occasionally to prevent burning.
- Once the onions have caramelized, add the grated carrot and apple. Cook on medium-low for 2 to 3 minutes, until the liquid from the grated apple has evaporated.
- Pour in the low-sodium chicken stock and water. Bring to a boil then reduce to a simmer.
- Dissolve the curry roux cubes into the pot. Add the curry powder then simmer for 5 to 10 minutes until slightly thickened.
- Add the mango chutney, Bulldog fruit & vegetable sauce (or ketchup), Worcestershire sauce, dark soy sauce and white pepper. Stir and mix well.
- Using an immersion blender, blend the curry until smooth. Add the remaining 2 tablespoons of butter into the curry and mix well.
- The flavors of the curry will enhance as it sits so I recommend storing it in the fridge overnight and reheating it the next day.
- Serve with rice and your choice of katsu!
This curry was incredible. Made this for the siblings yesterday and they LOVED it!
Hi Amelia! Thank you for giving this recipe a try! So glad that you and your siblings enjoyed this one 🙂 <3
This was actually my third time making this, turned out beautifully each time 💕
That’s amazing, Grace! Please let me know if there are any other recipes you’d like to see 🙂
I am amazed at both the depth of flavor and the similarity to Coco’s! I quadrupled the recipe (meal prep) and followed it exactly, including refrigerating overnight. It took my 6 onions about 4 hours to properly caramelize, but it was worth it. Unbelievable. A perfect recipe.
Hi Esther, thank you so much for sharing your kind words! I’m so so happy to hear that enjoyed this recipe 🙂 <3