Ice cream is one of my favorite desserts, and with the whole TikTok corn trend this summer, I wanted to create something original and unique.
My inspiration for this dessert was caramel popcorn, similar to Cracker Jacks. I grilled fresh corn that I found at the farmer’s market and created a super delicious ice cream base.
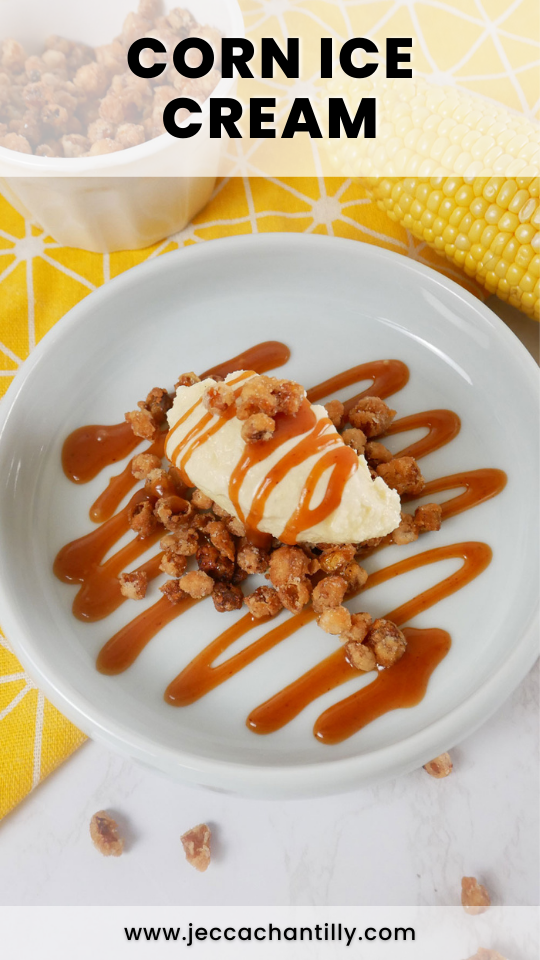
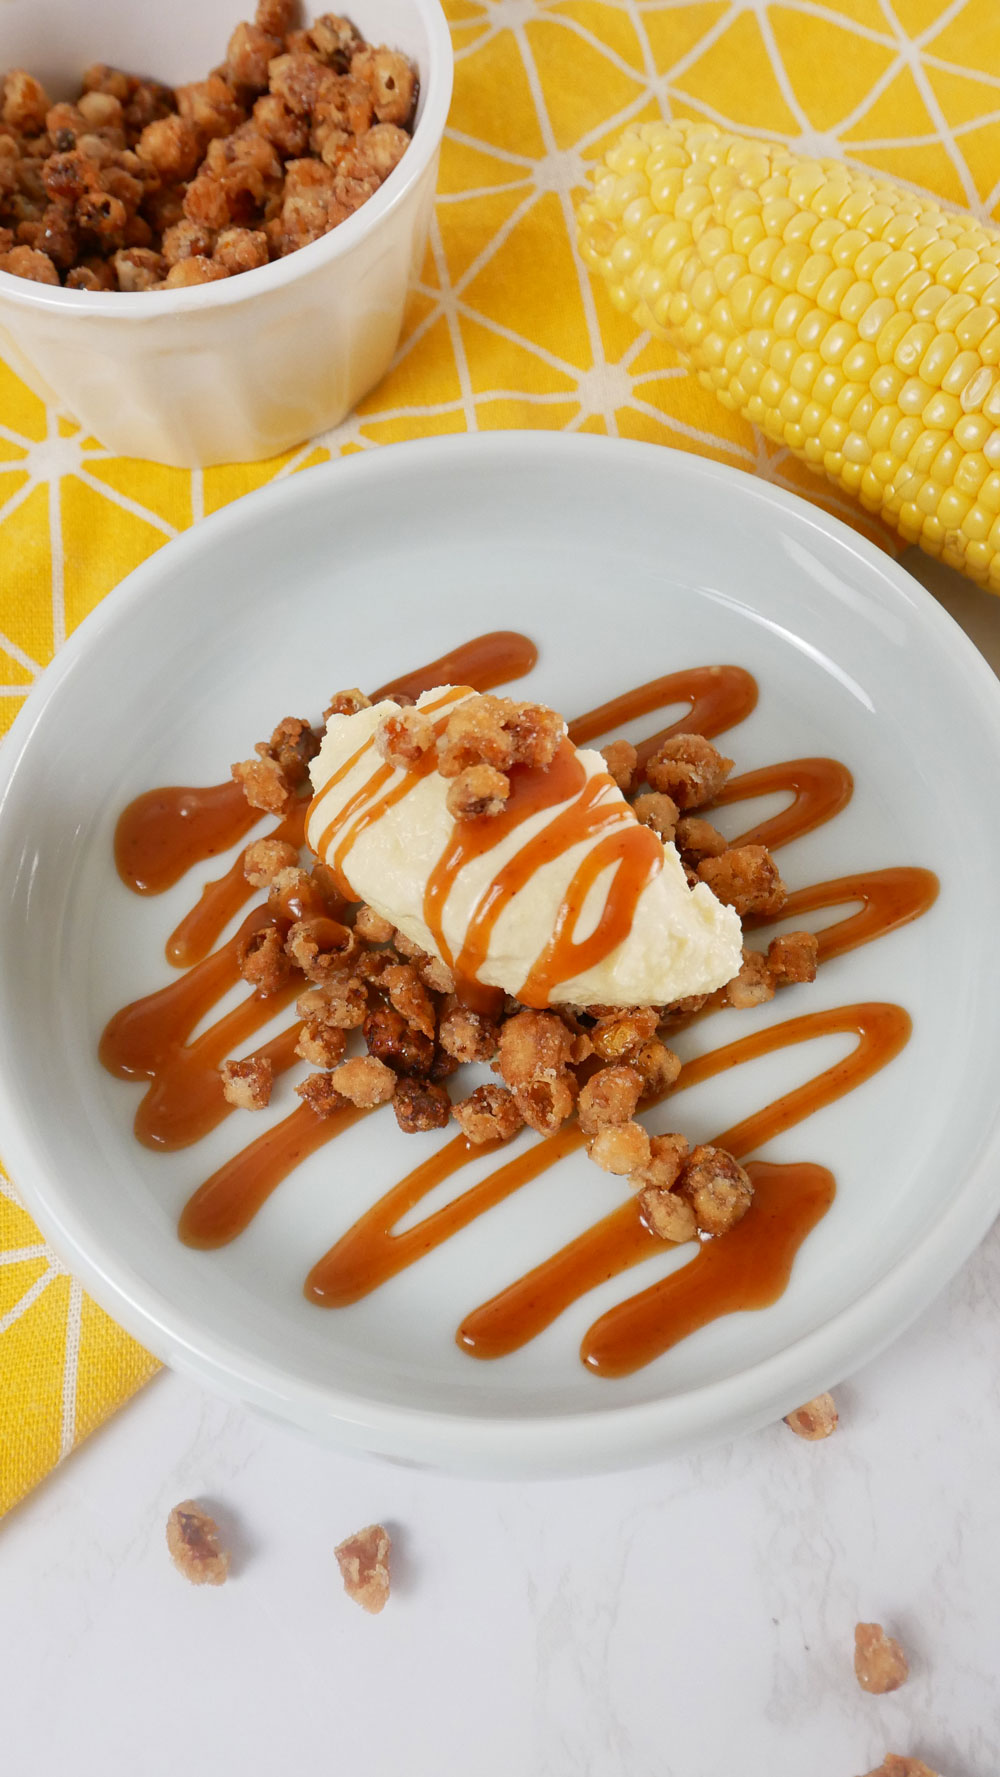
While you can definitely eat the corn ice cream on its own, I wanted to create a fully composed dessert with it. So, to accompany the ice cream, I made a gochujang caramel with a hint of spiciness and a sweet and salty crispy corn topping for texture. When eaten together, it really tastes like an elevated Cracker Jack dessert!
I really let my creative juices flow with this one, and I’m really happy with how it turned out! 🙂
Why you’ll love this recipe
Whether you want to cool down from the summer heat or just want a sweet treat, this corn ice cream will hit all the right spots. The smooth and creamy texture of the whole milk and heavy cream base embraces the natural sweetness of the corn, making it incredibly hard to resist.
While making my topping recipes above is completely optional, you can add any of your favorite toppings for the ice cream. Whether it’s peanuts, marshmallows, crushed pretzels, or graham crackers, almost anything goes with this tasty cold treat!
How do I prepare Corn Ice Cream?
If you can’t wait to get a bite out of this deliciously sweet corn ice cream recipe, follow the steps below:
Step 1: Prepare the corn
Remove the corn husks and clean the corn ears thoroughly. Then, pat them dry with a paper towel.
Step 2: Grill the corn
Lightly brush the corn with olive oil and grill or broil until charred all around – which could take 5-7 minutes. Once they’re nicely charred, remove them from the heat and set them aside to cool.
Step 3: Blend the corn kernels
When the corn has cooled to the touch, stand it upright and cut off the kernels from the cob. (If you want to see how I do this step, you can also watch my cooking video below 😉).
Reserve the kernels and cob separately. Then, transfer the corn kernels into a blender with milk and blend until smooth.
Step 4: Cook the blended corn mixture
Pour the blended corn and milk mixture into a pot. Then, add the heavy cream and corn cobs. Bring the mixture to a simmer, cover the pot, and turn off the heat. Allow the mixture to steep for 2 hours. Then, strain and set aside.
Step 5: Prepare the custard mixture
In a bowl, combine egg yolks, sugar, and salt. Whisk together until the mixture turns into a pale yellow color – which could take about 5 minutes. You’ll know it’s ready when you drizzle the mixture and see a ‘ribbon effect’ as it falls back onto the mixture.
Step 6: Add the corn milk mixture
Using a ladle, pour the corn milk mixture into the eggs, making sure to whisk simultaneously. It’s important that you constantly whisk since you don’t want the eggs to cook into scrambled eggs!
Step 7: Keep adding the corn milk mixture
Continue to pour in the corn milk mixture ladle by ladle. When you’re about halfway through, pour the rest of the mixture while whisking. Don’t forget to add the vanilla extract and mix together well.
Step 8: Refrigerate the ice cream base
Run the ice cream base through a sieve. Cover and place in the fridge for at least 12 hours.
Step 9: Churn the ice cream
Churn the ice cream according to the instructions on the ice cream machine. Freeze for 4 hours to harden.
Step 10: Serve
Once the ice cream is frozen enough to scoop, serve it in a bowl or cone and top it with the Gochujang Caramel and Sweet & Salty Crispy Corn. Enjoy!
Preparation Tips for Corn Ice Cream
To ensure your corn ice cream turns out well, here are a few tips you can keep in mind while preparing the recipe:
- Be careful not to boil the corn milk mixture since this will cause it to curdle – or separate into curds or lumps.
- You can also use a food processor to blend the corn kernels and milk if you don’t have a blender.
- Remember to temper or slowly add the hot corn milk mixture to the eggs to prevent them from cooking. You can do this by ladling small amounts of the corn milk mixture while whisking it into the custard mixture.
Ingredients & Substitutions
Corn: corn is the star of this recipe, so make sure you get it fresh. But if you can’t access corn on the cob, you can also use canned corn kernels.
Olive oil: olive oil will help the corn char more easily. You can substitute it with any neutral-tasting oil, such as vegetable, sunflower, or rapeseed oil.
Heavy cream: heavy cream is an essential ingredient for ice cream because it provides its smooth and creamy texture. In a pinch, you can substitute it with half and half.
Whole milk: whole milk is the base for the corn milk mixture. You can substitute it with 2% milk or any plant-based milk of your choice (i.e., almond or oat milk), but its texture won’t be as creamy.
Egg yolks: egg yolks make the corn ice cream creamy and improve its stability so it doesn’t melt as quickly.
Sugar: sugar sweetens up the ice cream. Make sure to use white sugar for this recipe since brown sugar can darken its color.
Salt: salt levels out the sweetness of the ice cream while also enhancing its flavors.
Vanilla extract: vanilla extract enhances the sweet flavor and aroma of the ice cream base. In a pinch, you can substitute it with maple syrup or almond extract.
Gochujang Caramel: this isn’t your typical caramel sauce because it perfectly blends spicy and sweet flavors thanks to the addition of gochujang!
Sweet and Salty Crispy Corn: elevate your corn ice cream with this crispy, sweet, and salty corn topping.
Frequently Asked Questions
Can you make corn ice cream without an ice cream maker?
Yes, you can still make corn ice cream even if you don’t have an ice cream maker, but it will take a lot of elbow grease. To do it, place your bowl of ice cream mixture inside another bowl that’s full of ice and salt. Mix with a hand mixer or whisk until its texture thickens, then place the ice cream in the freezer.
Why should you grill the corn?
Grilling the corn helps enhance its flavor by bringing out its sweetness. Charring it also gives it a hint of a smoky taste to add depth to its overall taste. Be careful not to char the corn too much, or you could end up with bitter ice cream!
Why do you add the corn cobs to the corn milk mixture?
I like adding corn cobs to the corn milk mixture to extract as much flavor from them. You don’t have to do this step if you don’t want to, but I highly recommend it since it levels up your corn ice cream from tasty to dangerously delicious!
How do you store Corn Ice Cream?
Store your corn ice cream in an airtight container in the freezer. If it even lasts long, it will stay fresh for 2-3 weeks. You’ll know your corn ice cream has gone bad when you spot large ice crystals on top, and its texture feels gummy. Once you spot these signs, discard your ice cream immediately and make a fresh batch instead.
Looking for more easy and delicious dessert recipes?
1. Strawberry Cream Donut – take a bite out of this soft and fluffy donut filled with luscious whipped cream and homemade strawberry sauce. Don’t be afraid to stuff it with a lot of fresh strawberries to make every dessert lover’s dream come true!
2. Hotteok – also known as Korean Sweet Pancakes! You no longer have to visit Korea to take a bite out of this classic street food with this recipe. I added walnuts, sunflower seeds, and peanuts to their sweet and gooey filling, but feel free to experiment when you make this recipe at home!
3. Mango Mochi – for a refreshing dessert that only takes 10 minutes to make, you can’t miss out on this Hong Kong-style mango mochi recipe. I used mango nectar for the filling to turn it into a delectable treat that’s hard to resist.
4. French Tuile Cookies – think Pringles, but make them sweet! Top these delicate treats with my Spiced Maple Glazed Pecans, and you have an extraordinary batch of cookies that are divinely to die for!
5. Hong Kong French Toast – if you think you can’t have anything indulgently sweet for breakfast, you haven’t tried this French toast recipe. Every slice of bread is smothered in peanut butter and drizzled with condensed milk on top.
Corn Ice Cream Recipe
Ingredients
- 2 ears of corn approximately 2 cups
- 2 tsp olive oil
- 2 cups heavy cream
- 2 cups whole milk
- 6 egg yolks
- 1/2 cup sugar
- pinch of salt
- 1 tsp vanilla extract
Toppings (Optional)
- Gochujang Caramel see note 1
- Sweet & Salty Crispy Corn see note 2
Instructions
- Remove the corn husks and clean the corn ears thoroughly. Pat dry with a paper towel.
- Lightly brush the corn with olive oil and grill or broil until charred all around, about 5-7 minutes. Remove and set aside to cool.
- When the corn has cooled to the touch, stand it upright and cut off the kernels from the cob. Reserve the kernels and cob separately. Transfer the corn kernels into a blender with milk and blend until smooth.
- Pour the blended corn and milk mixture into a pot. Add the heavy cream and corn cobs. Bring to a simmer then turn cover the pot and turn off the heat. Allow this to steep for 2 hours. Strain the mixture and set aside.
- In a bowl, combine egg yolks, sugar, and salt. Whisk together until it turns into a pale yellow color, about 5 minutes. You'll know it's ready when you drizzle the mixture and see a 'ribbon effect' as it falls back down onto the mixture.
- Using a ladle, pour in the corn milk mixture into the eggs, making sure to whisk at the same time. It's important that constantly whisk – you don't want the eggs to cook into scramble eggs!
- Continue to pour in the corn milk mixture ladle by ladle. When you're about halfway through, pour in the rest of the mixture, while whisking. Add the vanilla extract and mix together well.
- Run the ice cream base through a seive. Cover and place in the fridge for at least 12 hours.
- Churn the ice cream according to the instructions on the ice cream machine. Freeze for 4 hours to harden.
- Enjoy!!
Pin & save this recipe for later!