If you’re looking to elevate your breakfast bagel or prepare a sophisticated meal, there’s always one dish that is sure to impress – homemade lox. Once you make lox at home, you’ll wonder why you haven’t been making it sooner! It’s simple, easy, and only requires 4-ingredients.
Why you’ll love this recipe
While lox is very simple to prepare, the taste and end result are far from simple. It’s a game-changer for people who want a slice of something extra special with their meals.
In my opinion, store-bought lox tends to be expensive, dry, and overly salty. Of course, you can also purchase it from your local bagel shop or deli, but be prepared to pay a fortune. With this recipe, you can make lox affordably and deliciously right in the comfort of your home. After a quick 24 to 48-hour cure, what you’re left with is a delicious, silky, moist, and melt-in-your-mouth lox.
Homemade lox allows you to control the quality of the fish and the level of saltiness, so you can make it just how you like it – every single time. The level of freshness is unparalleled and it’ll be free of preservatives and additives that are often found in commercially sold lox.
Homemade Salmon Lox Ingredients & Substitutions
Farm-raised Norwegian salmon – Since the star of the recipe is the salmon, It’s important that you use the highest-quality salmon – it’ll make all the difference! I recommend using farm-raised Norwegian salmon for this recipe because they are naturally free of parasites, meaning they can typically be consumed raw. While lox isn’t technically raw, this process minimizes the chances of any risk of parasites during consumption. If you’re still on the fence, you can freeze the salmon for 24 hours.
This is not to be confused with wild-caught Norweigan salmon. If using ANY wild-caught salmon, it must be frozen for at least 7 days. Wild-caught Norwegian salmon and other salmon varieties are not safe for raw consumption without the freezing process.
Alternatively, you can use salmon that is labeled sushi-grade.
Soju – soju is used to soak the salmon before the curing process. This helps to eliminate any fishy or unpleasant odors from the fish. Soju can be substituted with sake, mirin, or any cooking wine. This step is optional but highly recommended.
Salt – you’ll need to measure 15% of the weight of the salmon to determine the amount of salt needed for the curing mixture. For example, if the salmon weighs 100 grams, you’ll need 15 grams of salt. I recommend using a kitchen scale for accurate measurements.
Sugar – similar to the salt, you’ll need to measure 15% of the weight of the salmon to determine the amount of sugar needed.
How to prepare Easy Homemade Salmon Lox
Step 1: Soak the salmon
Place the salmon in a deep dish or tray. Pour soju over the salmon, making sure all sides are well coated. Set aside for 15 minutes. Pat the salmon dry with paper towels then set it aside.
Step 2: Prepare the curing mixture
In a small mixing bowl, combine the salt and sugar. Note that the salt and sugar should be 15% of the total weight of salmon each. To calculate this, multiply .15 by the weight of salmon in grams. Mix the salt and sugar until well combined.
Step 3: Add the curing mixture to the salmon
Place a long piece of plastic wrap on top of your cutting board or work surface area. The plastic wrap should be 3 times the length of the salmon.
Pour half of the salt and sugar mixture on top of the plastic wrap. Spread it into an even layer roughly the same size as the salmon.
Place the salmon skin side down on top of the salt and sugar mixture. Pour the remaining salt and sugar on top of the salmon and spread it out evenly so it covers the entire salmon.
Step 4: Wrap the salmon
Carefully wrap the salmon, ensuring all sides are coated in the salt and sugar mixture. Wrap the salmon a few more times with plastic wrap to ensure it’s securely wrapped.
Step 5: Cure in the fridge
Transfer the wrapped salmon into a large Ziploc bag. Place it on a plate or tray then weigh the salmon down by stacking another plate or tray on top with heavy objects.
Place in the fridge to cure for 24 to 48 hours. Keep in mind that the longer it cures, the saltier the salmon will be. I find that 24 hours is just right.
Step 6: Rinse the cured salmon
Remove the plastic wrap and rinse the salt and sugar mixture with cold water. Pat the salmon dry with a paper towel.
Step 7: Slice and serve!
Thinly slice the salmon and serve!
Preparation Tips & Tricks for Homemade Salmon Lox
- For best results, use fresh, high-quality salmon. I recommend using farm-raised Norwegian salmon because they are naturally free of parasites. If you’re still iffy about this, you can freeze the salmon for 24 hours. Alternatively, you can use salmon that is labeled sushi-grade. As noted above in the ingredients & substitution section, farm-raised and wild-caught Norwegian salmon are different. If using wild-caught Norwegian salmon or any other salmon variety, it must be frozen for at least 7 days to ensure the parasites are eliminated.
- While I kept the curing mixture simple with salt and sugar, feel free to experiment with different flavors and ingredients. For example, herbs like dill or citrus zest would be a great addition.
- Keep the skin on the salmon to help hold the fish together while curing. Once it’s done curing, you can cut off the skin and broil it in the oven for a crunchy snack!
- Be sure to apply the cure evenly, making sure all sides are coated to ensure a consistent cure throughout the salmon.
- Keep in mind that the longer the salmon cures, the saltier it will be. The recommended curing time is 24 to 48 hours however, I find that 24 hours is just right for me.
- If you have leftover lox that won’t be eaten right away, you can store it in the freezer for up to 3 months. When you’re ready to eat it, remove it from the freezer to thaw slightly. Then using a sharp knife, cut away as much as you’d like.
Frequently Asked Questions
Can I use frozen salmon?
For best results, I recommend using the freshest Norwegian salmon you can find. Unless the frozen salmon is sushi-grade and made for raw consumption, I would avoid using it.
What’s the difference between lox and smoked salmon?
Lox is salmon that has been cured. Smoked salmon is fish that has been cured and smoked. In terms of taste, the smoked salmon is noticeably different because you can taste and smell the smokiness. Whereas with lox, you don’t.
How do I store homemade salmon lox?
Homemade salmon lox can be stored in an air-tight container in the refrigerator for up to 3 days. If you want to store it for longer, you can store it in the freezer for up to three months. Just be sure to wrap it carefully and keep it in an airtight container to prevent freezer burn.
What can I eat lox with?
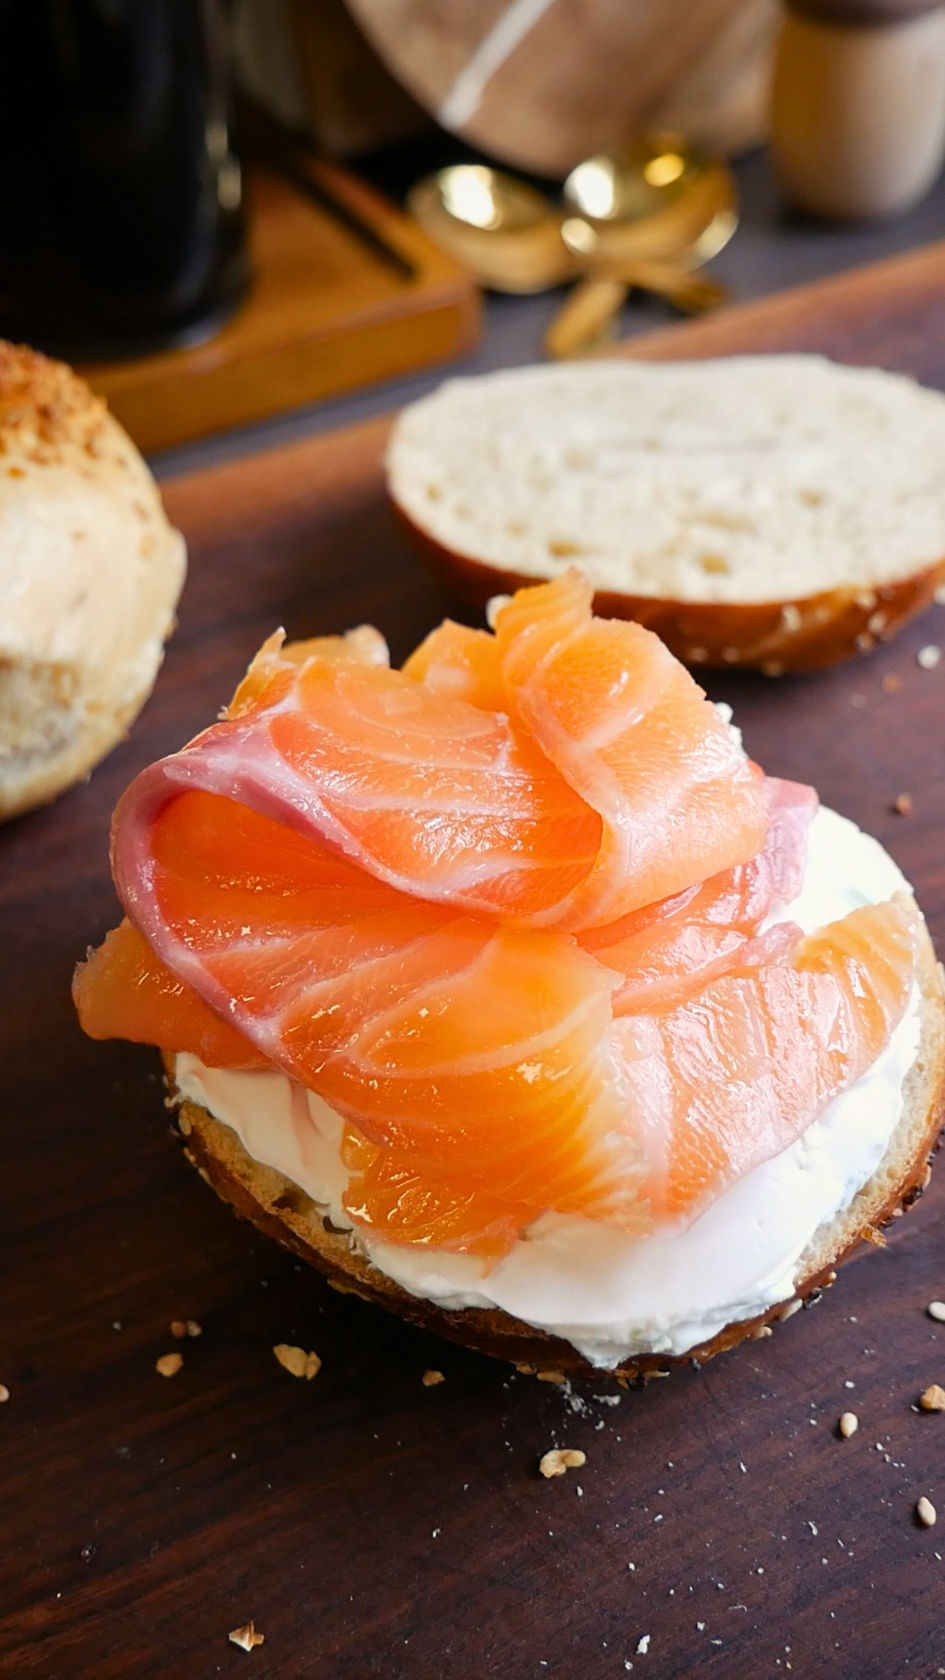
My personal preference is for a scallion cream cheese bagel but the possibilities are truly endless! Lox is delicious in salads, sandwiches, pasta, and more!
Looking for more easy and delicious salmon recipes?
- Salted Salmon Onigiri
- Marinated Salmon Sashimi
- Pan Seared Miso Salmon
- Shiozake – Japanese Salted Salmon
- Spicy Salmon Poke Bowl
- Pan Seared Salmon with Crispy Skin
Easy Homemade Salmon Lox
Ingredients
- 20 oz (565g) farm raised Norwegian salmon center cut + skin on, see note 1
- 2 tablespoons soju substitute with sake or mirin (cooking wine)
- 15% salt about 85g for 565g salmon
- 15% sugar about 85g for 565g salmon
Instructions
- Place the salmon in a deep dish or tray. Pour soju over the salmon, making sure all sides are well coated. Set aside for 15 minutes. Pat the salmon dry with paper towels then set it aside.
- In a small mixing bowl, combine the salt and sugar. Note that the salt and sugar should be 15% of the total weight of salmon each. To calculate this, multiply .15 by the weight of salmon in grams. Mix the salt and sugar until well combined.
- Place a long piece of plastic wrap on top of your cutting board or work surface area. The plastic wrap should be 3 times the length of the salmon.
- Pour half of the salt and sugar mixture on top of the plastic wrap. Spread it into an even layer roughly the same size as the salmon.
- Place it skin side down on top of the salt and sugar mixture. Pour the remaining salt and sugar on top of the salmon and spread it out evenly so it covers the entire salmon.
- Carefully wrap the salmon, making sure all sides are coated in the salt and sugar mixture. Wrap the salmon a few more times with plastic wrap to ensure it's securely wrapped.
- Transfer the wrapped salmon into a large Ziploc bag. Place it on a plate or tray then weigh the salmon down by stacking another plate or tray on top with heavy objects.
- Place in the fridge to cure for 24 to 48 hours. Keep in mind that the longer it cures, the saltier the salmon will be. I find that 24 hours is just right.
- Remove the plastic wrap and rinse the salt and sugar mixture with cold water. Pat the salmon dry with a papertowel.
- Thinly slice the salmon and serve!
Notes
- I recommend using farm-raised Norwegian salmon for this recipe because they are naturally free of parasites, meaning they can typically be consumed raw. While lox isn’t technically raw, this process minimizes the chances of any risk of parasites during consumption. If you’re still on the fence, you can freeze the salmon for 24 hours. This is not to be confused with wild-caught Norweigan salmon. If using ANY wild-caught salmon, it must be frozen for at least 7 days. Wild-caught Norwegian salmon and other salmon varieties are not safe for raw consumption without the freezing process. Alternatively, you can use salmon that is labeled sushi-grade.