
Shiozake is a salt cured salmon recipe in Japanese cooking. It’s commonly eaten for breakfast however, I find that this dish is also perfect for a quick and healthy lunch or dinner too!
This salmon dish only requires three ingredients that you can easily find in your pantry. It’s first made by marinating the sliced salmon with sake to help clean the fish and remove any fishy odors that come with seafood. A generous amount of salt is used to essentially ‘cure’ the salmon. The salt penetrates into the flesh, creating a savory and flavorful profile.
Similar to my other Japanese inspired recipe Soy Cured Eggs, this is a great meal to have with rice. Because this dish is more on the saltier side, you’ll want to have extra rice on hand because you’ll probably be going back for more!
The salmon can cure for up to 3 days however the longer it sits, the saltier it becomes. I find that curing it for 1 day is more than enough for me. These can also be stored in the freezer after the curing process for a quick and convenient meal later on.
What is Shiozake (Japanese Salted Salmon)?
As the name suggests, Shiozake or Japanese Salted Salmon is a simple dish made with fresh salmon and salt. Shio is the Japanese word for salt, and sake or zake means salmon in Japanese.
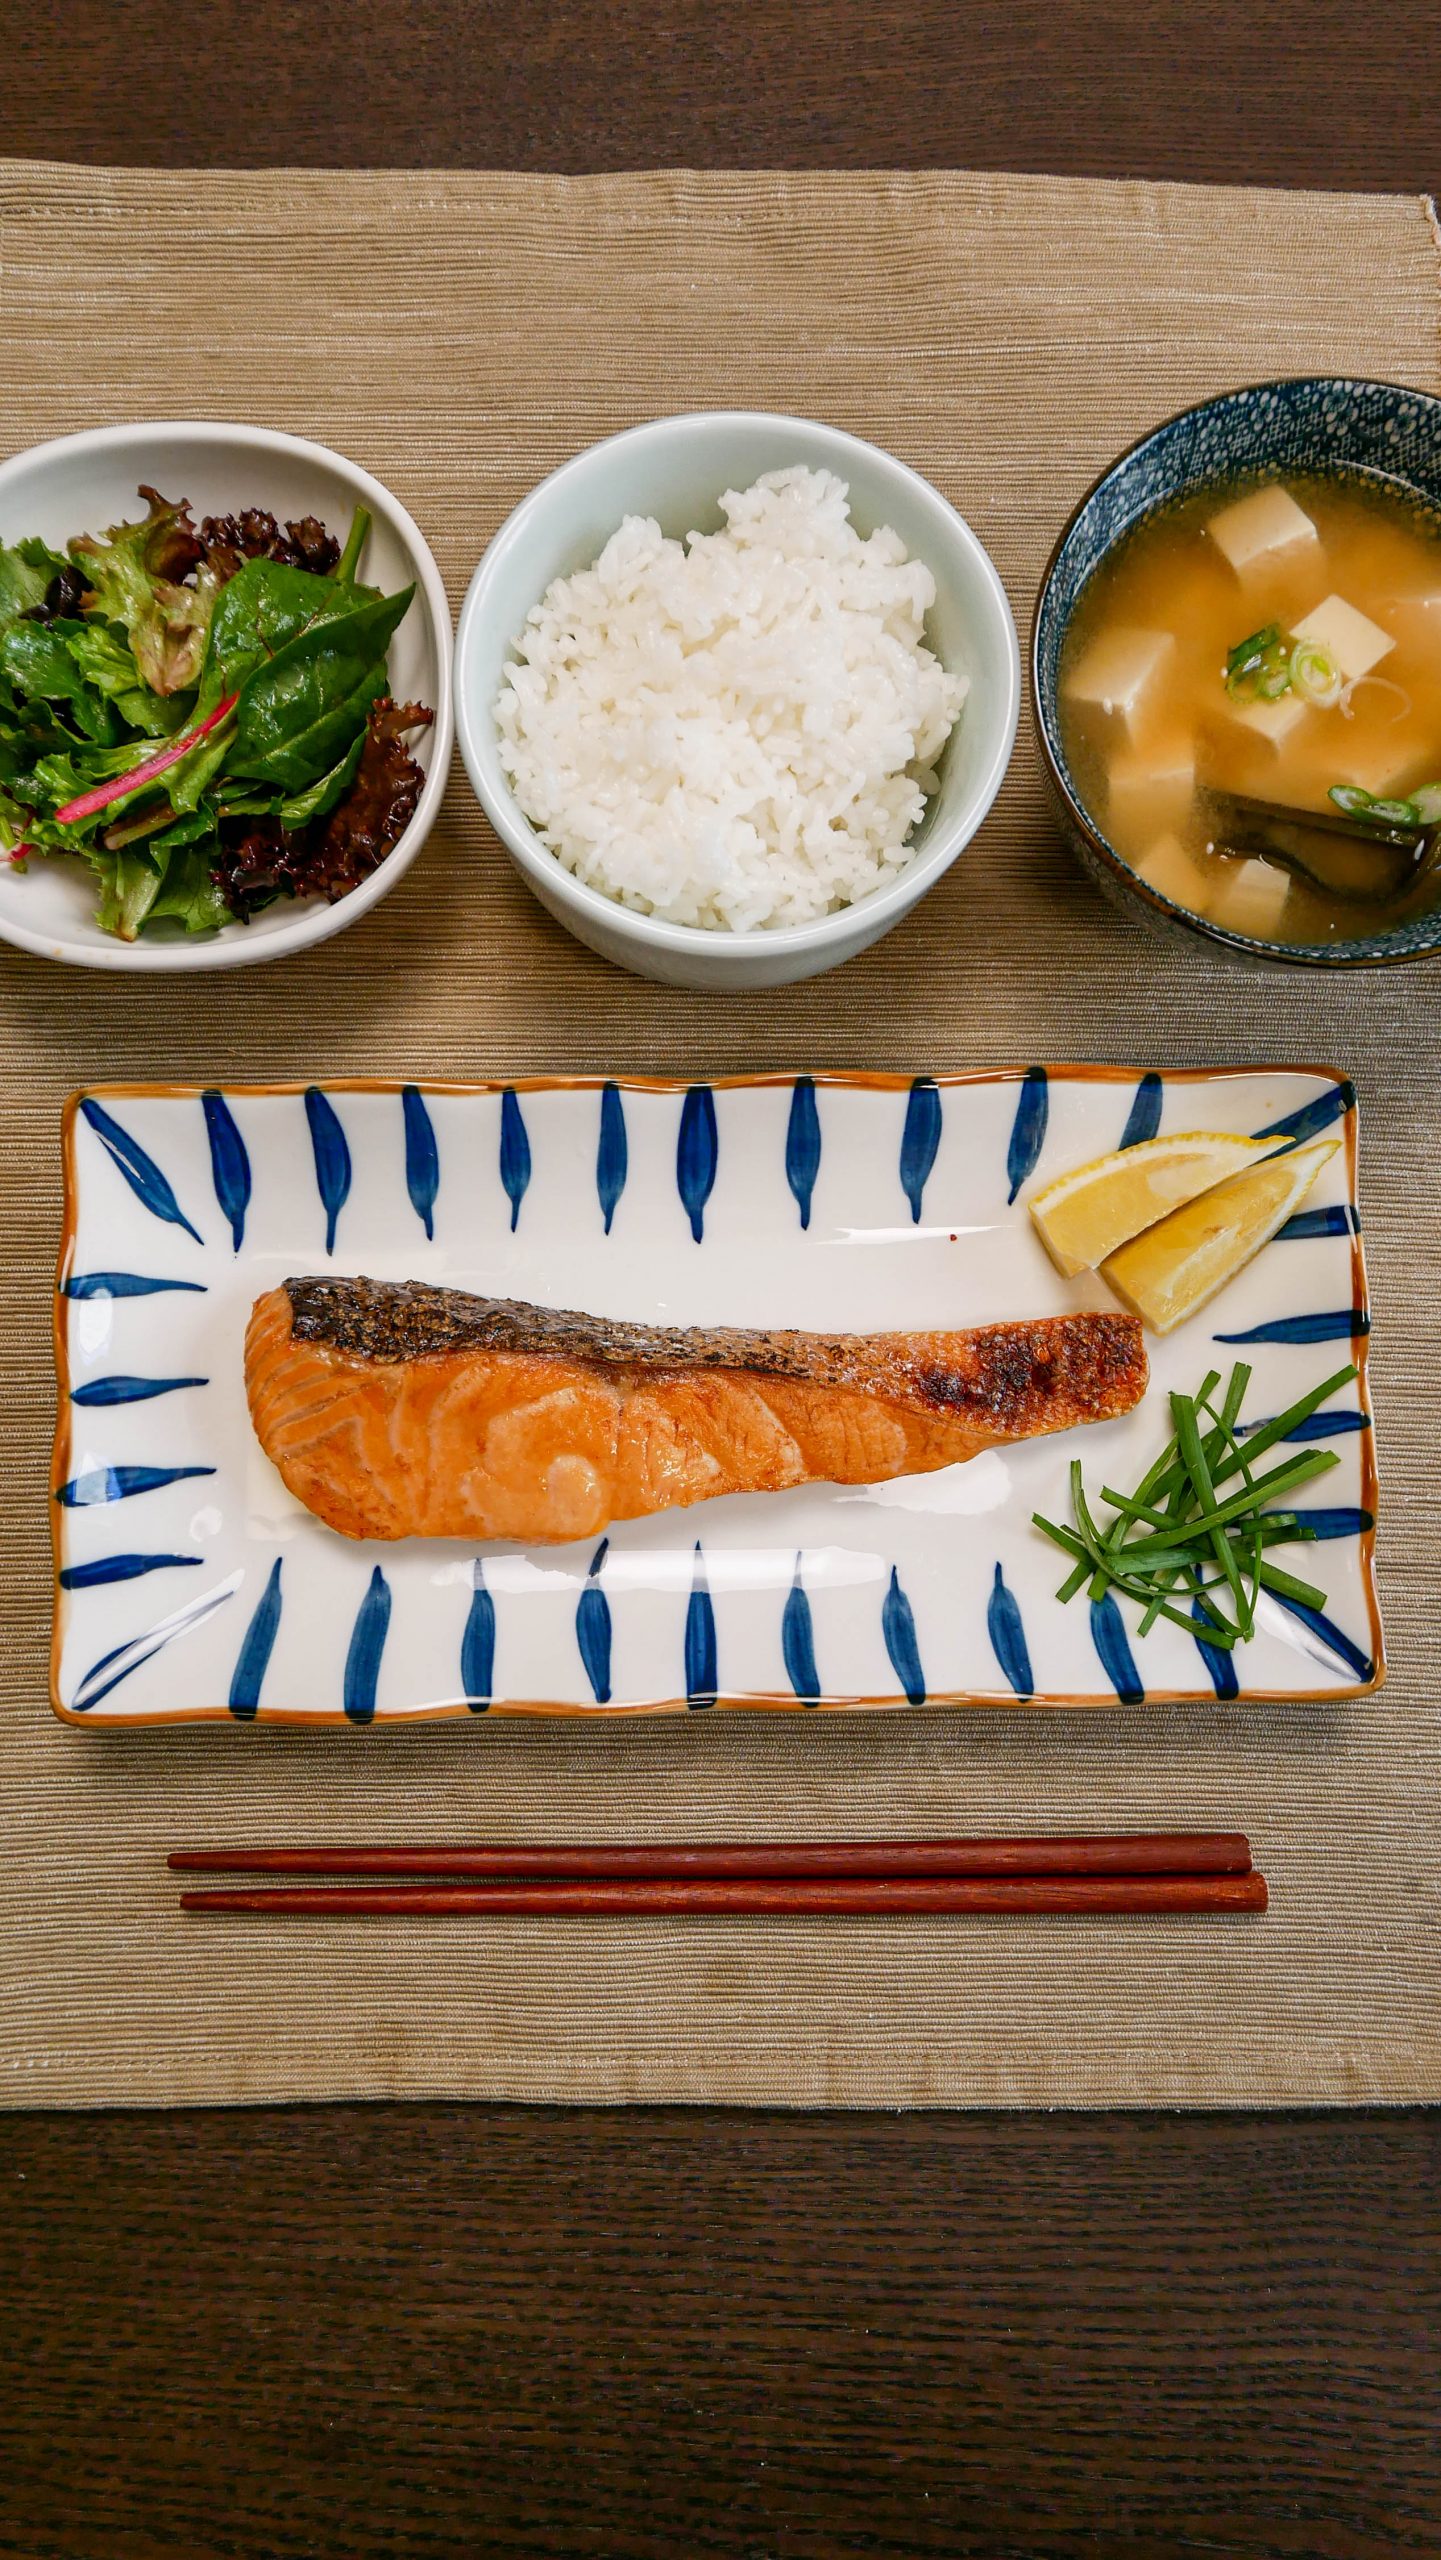
Japanese salted salmon is a classic breakfast dish that typically goes with a bowl of fresh rice and miso soup. Some also serve it with some pickles and nori seaweed. Traditionally, Shiozake is grilled, but nowadays, it is cooked by pan frying or broiling.
How to Make Shiozake (Japanese Salted Salmon)
Making shiozake is very easy– all you need is some fresh salmon seasoned simply with salt. That’s it! The fact that it only requires two main ingredients tells you how easy it is to make.
However, if this is your first time making it or you are a novice cook, simply follow the steps below.
Step 1: Prepare the salmon.
The first step is to prepare your main ingredient– skin on salmon. Slice it diagonally into four one-inch pieces. Cutting the salmon in an angle will expose the skin and allow it to crisp up when it cooks. Pour the sake on the salmon and spread it evenly with your hands. Let it sit for about 10 minutes.
After 10 minutes, pat dry the salmon with paper towels, making sure that all the excess moisture is gone. Next, season both sides of the salmon generously with salt.
Step 2: Let the salmon cure for up to 3 days.
Get a tight seal container, preferably glass, and line a paper towel at the bottom. Lay down the salmon pieces, leaving enough space around each piece.
If you need to stack them, add a sheet of paper towel between each stack. Finally, add a sheet of paper towel on top and close the lid.
Store it in the fridge and let the salmon cure for 1 to 3 days.
Step 3: Cook the salmon.
After the salmon has cured, remove them from the fridge when you’re ready to cook them. Place the salmon pieces on a lined baking tray with the skin facing up to give it a nice char.
Broil on high for about 6 to 8 minutes or until the skin turns golden brown and crispy. The salmon should be cooked well done. Keep in mind that you don’t need to flip the salmon.
When cooked, remove them from the broiler and let them rest on a wire rack. If you want a crispier skin, I recommend using a torch, but this is optional.
Step 4: Serve and enjoy!
There are different ways to enjoy Japanese salted salmon. The classic version pairs it with a bowl of fresh rice and miso soup, but you can also serve it with your favorite side dishes.
So if you want a quick and easy delicious meal, give my shiozake recipe a try!
Shiozake (Japanese Salted Salmon)
Ingredients
- 1 lb salmon skin on
- 1 tbsp sake or cooking wine
- 2.5 tbsp salt
- lemon slices optional
Instructions
- Slice salmon into 4 one-inch pieces on a diagonal. The salmon skin should be facing up to ensure a nice char when cooking.
- Pour sake over the salmon and evenly spread with hands. Set aside for 10 minutes.
- After 10 minutes, gently pat the salmon down making sure to dry very well.
- Generously salt both sides and the skin of the salmon.
- Place a sheet of paper towel on the bottom of a glass or tight seal container.
- Place the salmon in the container, making sure there is enough space around each piece. If you need to stack the salmon, add another sheet of paper towel in between each stack. Add one last sheet of paper towel on top and close the container lid.
- Transfer to the fridge and allow the salmon to cure for at least 1 day and up to 3 days.
- When you are ready to cook the salmon, remove from fridge.
- Place the salmon sliced (skin side up) on a lined baking tray.
- Broil on high for 6-8 minutes or until golden brown, on one side only. The salmon does not need to be flipped.
- Remove from the broiler and rest on a wire rack. This is optional however, if you'd like, you can torch the skin for a crispier texture.
- Serve with a bowl of fresh rice and your favorite side dishes.
Notes
- This recipe is intended to be very salty. Keep in mind that the longer the salmon cures in the fridge, the saltier it will become.
- When choosing your salmon fillets, make sure to go for the freshest ones. Because this dish is only seasoned with salt, you need fresh, high-quality salmon for the best taste and flavor. Ask your fishmonger to help you select the best salmon.
- Japanese salted salmon is traditionally grilled, but this recipe involves broiling the fish. You can also fry it in a pan or bake it, especially if you don’t have a grill.
- The sake can be omitted if you have dietary restrictions.
- The cooking time indicated in this recipe is approximate. It may vary depending on the thickness of your salmon.
- Keep leftovers in an air-tight container and store them in the fridge. They can last up to 2 to 3 days and be used as a filling for onigiri.
Final Thoughts
You’ve only probably seen this Japanese Salted Salmon dish on anime, manga, or Japanese TV shows, but now, you can make it at home!
While it’s perfect for breakfast, you can eat this any time of day. You can also enjoy this amazing shiozake as the main dish in your bento lunchbox, serve it as a delicious main course, or use it as a filling for your rice balls.
If you’ve made this, please let me know how it turned out!
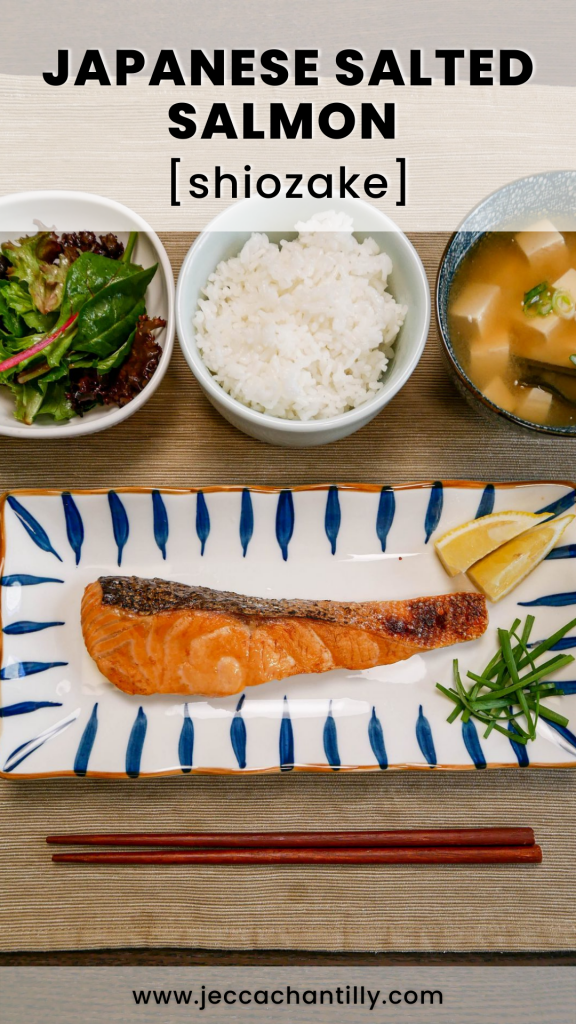
Pin & save this recipe for later
this was SO GOOD! loved the simple recipe and easy to follow instructions. thankss!
Hi Emily! Thank you for giving my recipe a try 🙂 So happy to hear that you loved it!!